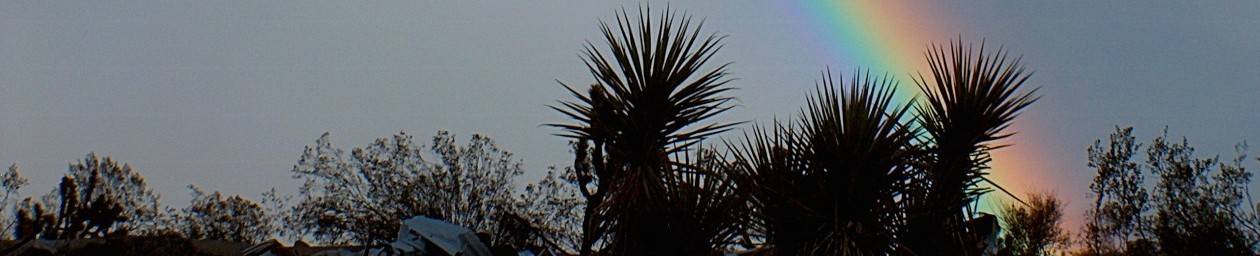
Eric and Violet had a theme “Tiki Hut” for their RV and presented the above picture as a guide. Their desire was for a stained glass window to be mounted inside the RV to over and existing window. The window was measured and now Sherry begins to design the piece.
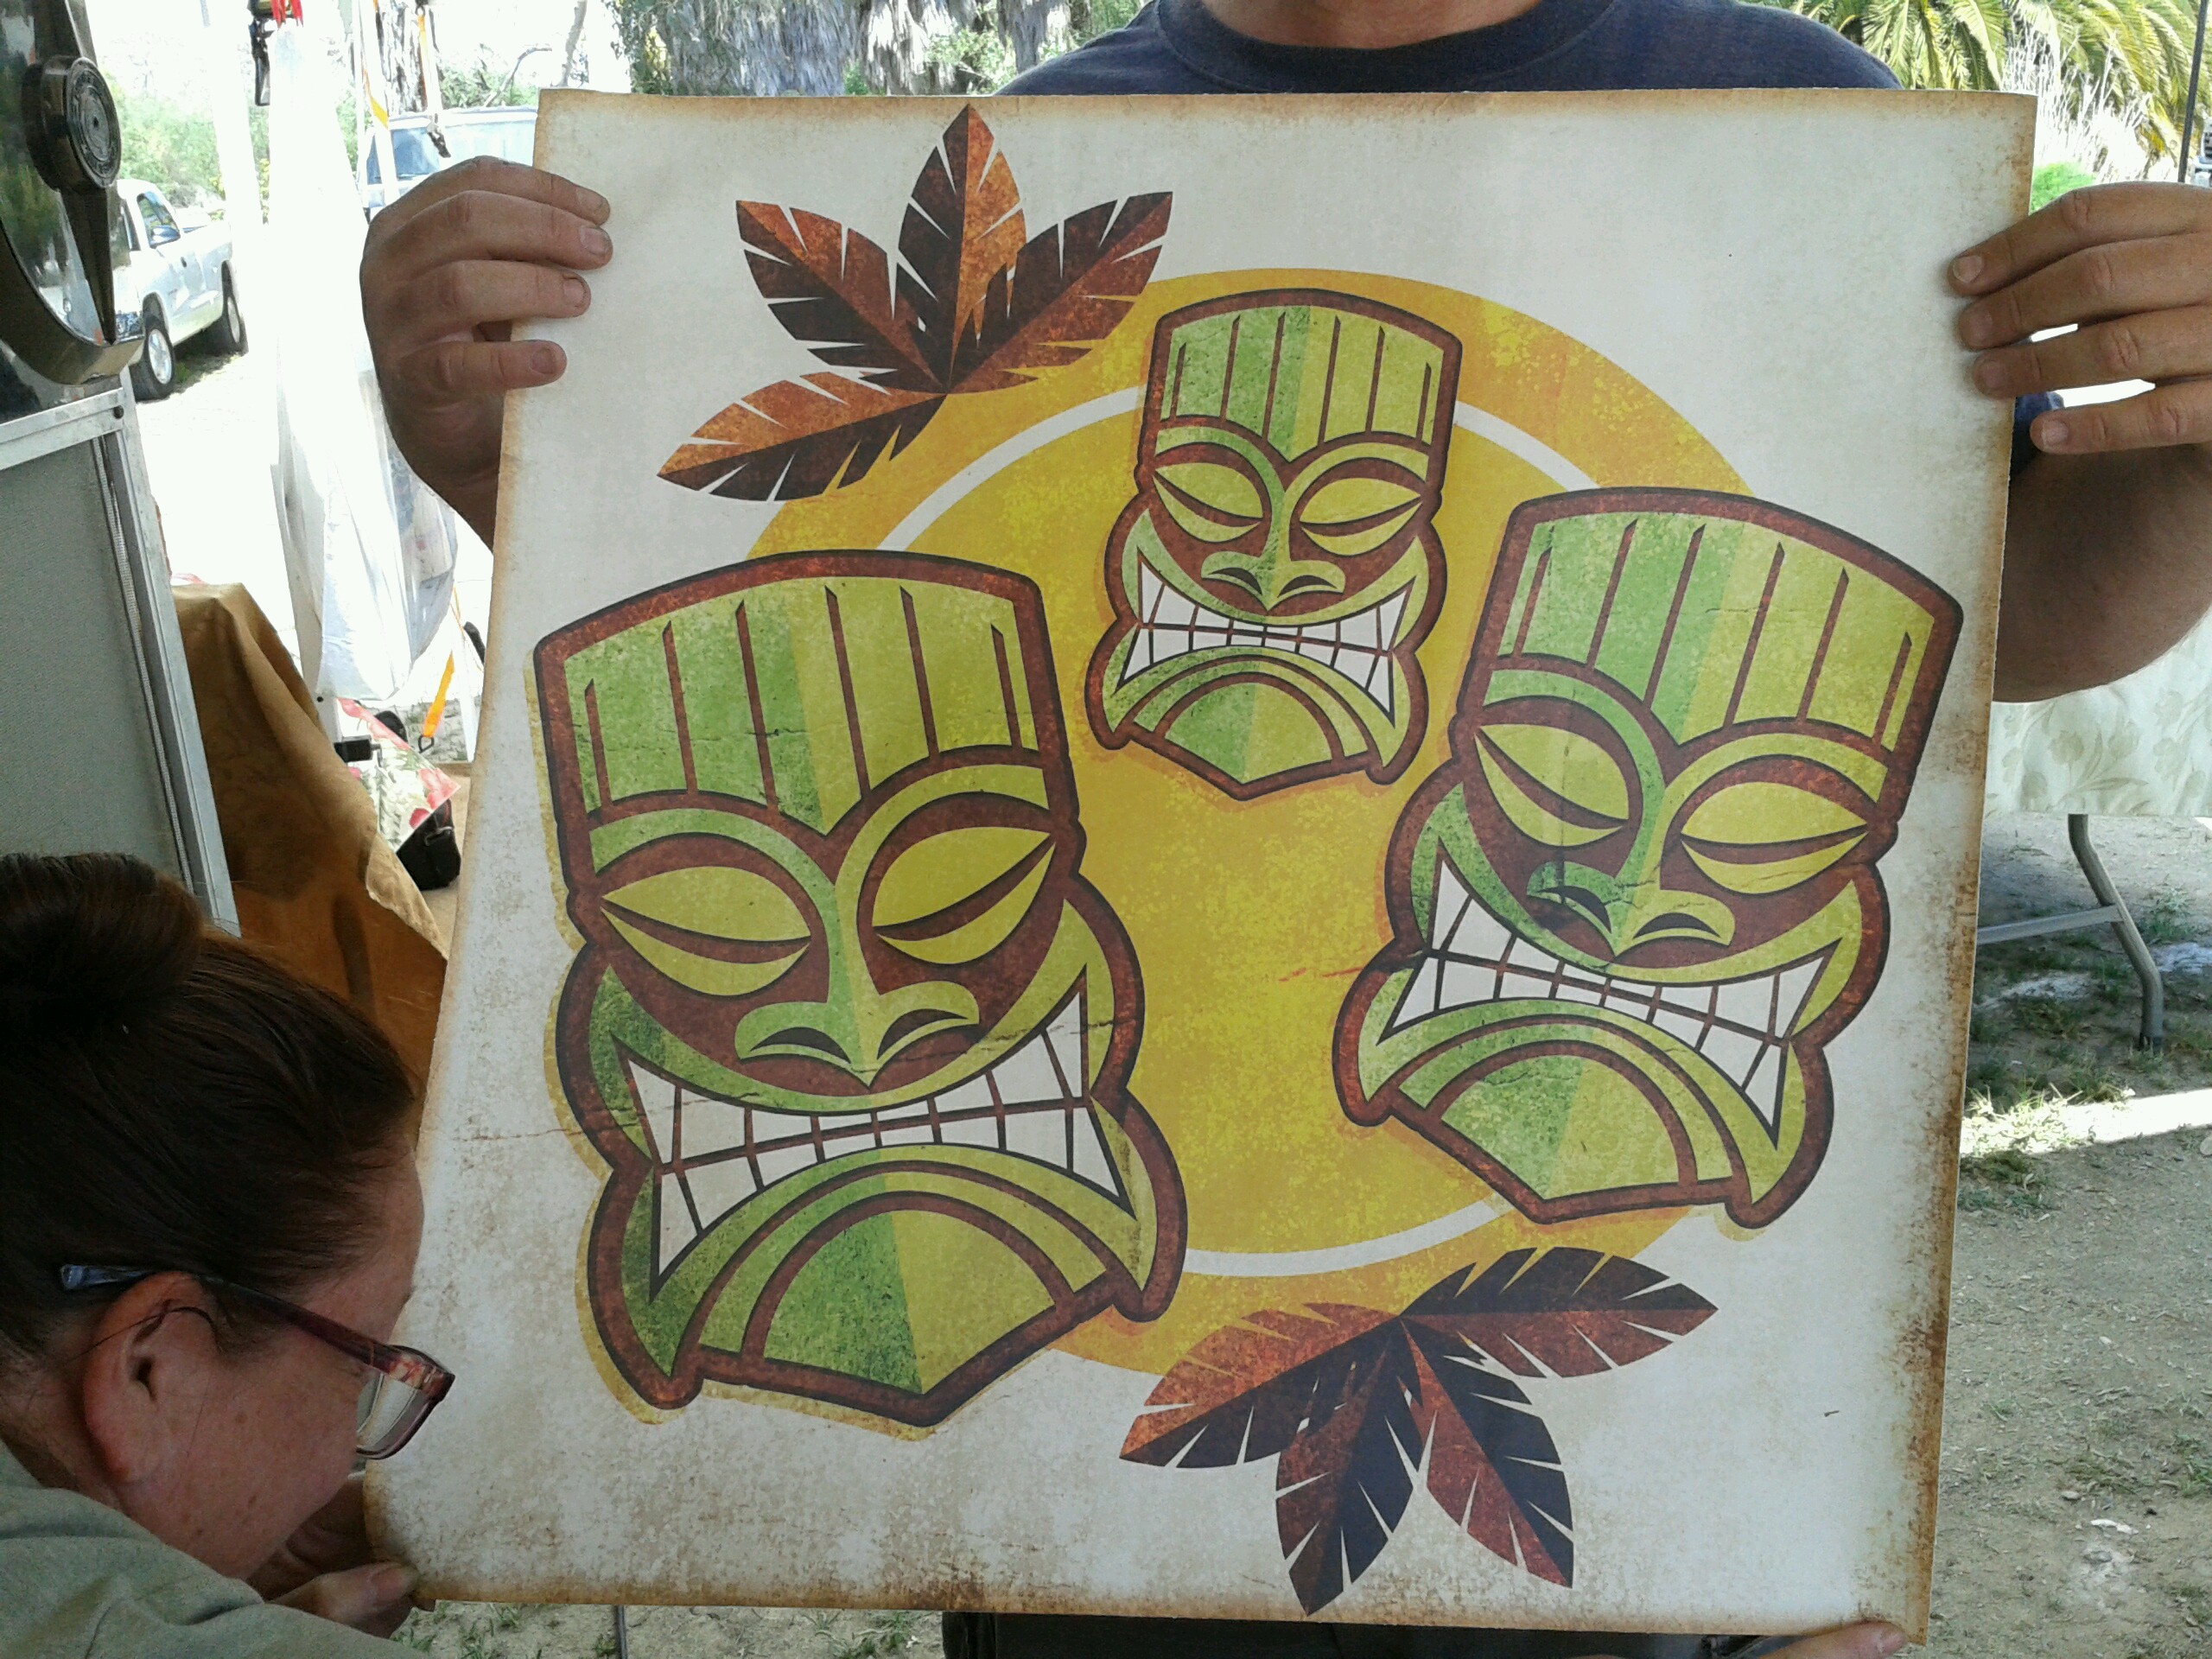
Sherry sketches out a design based on Eric and Violet’s reference picture. The design is modified to “fit” as a stained glass piece and here are some reason why:
1. The picture is square and needs to be modified to fit into a rectangular window.
2. Too much detail will present as a mass of tiny glass pieces, so Sherry simplifies the picture.
3. Violet wanted more brown and violet is her favorite color, so Sherry added some violet shaded glass as a surprise.
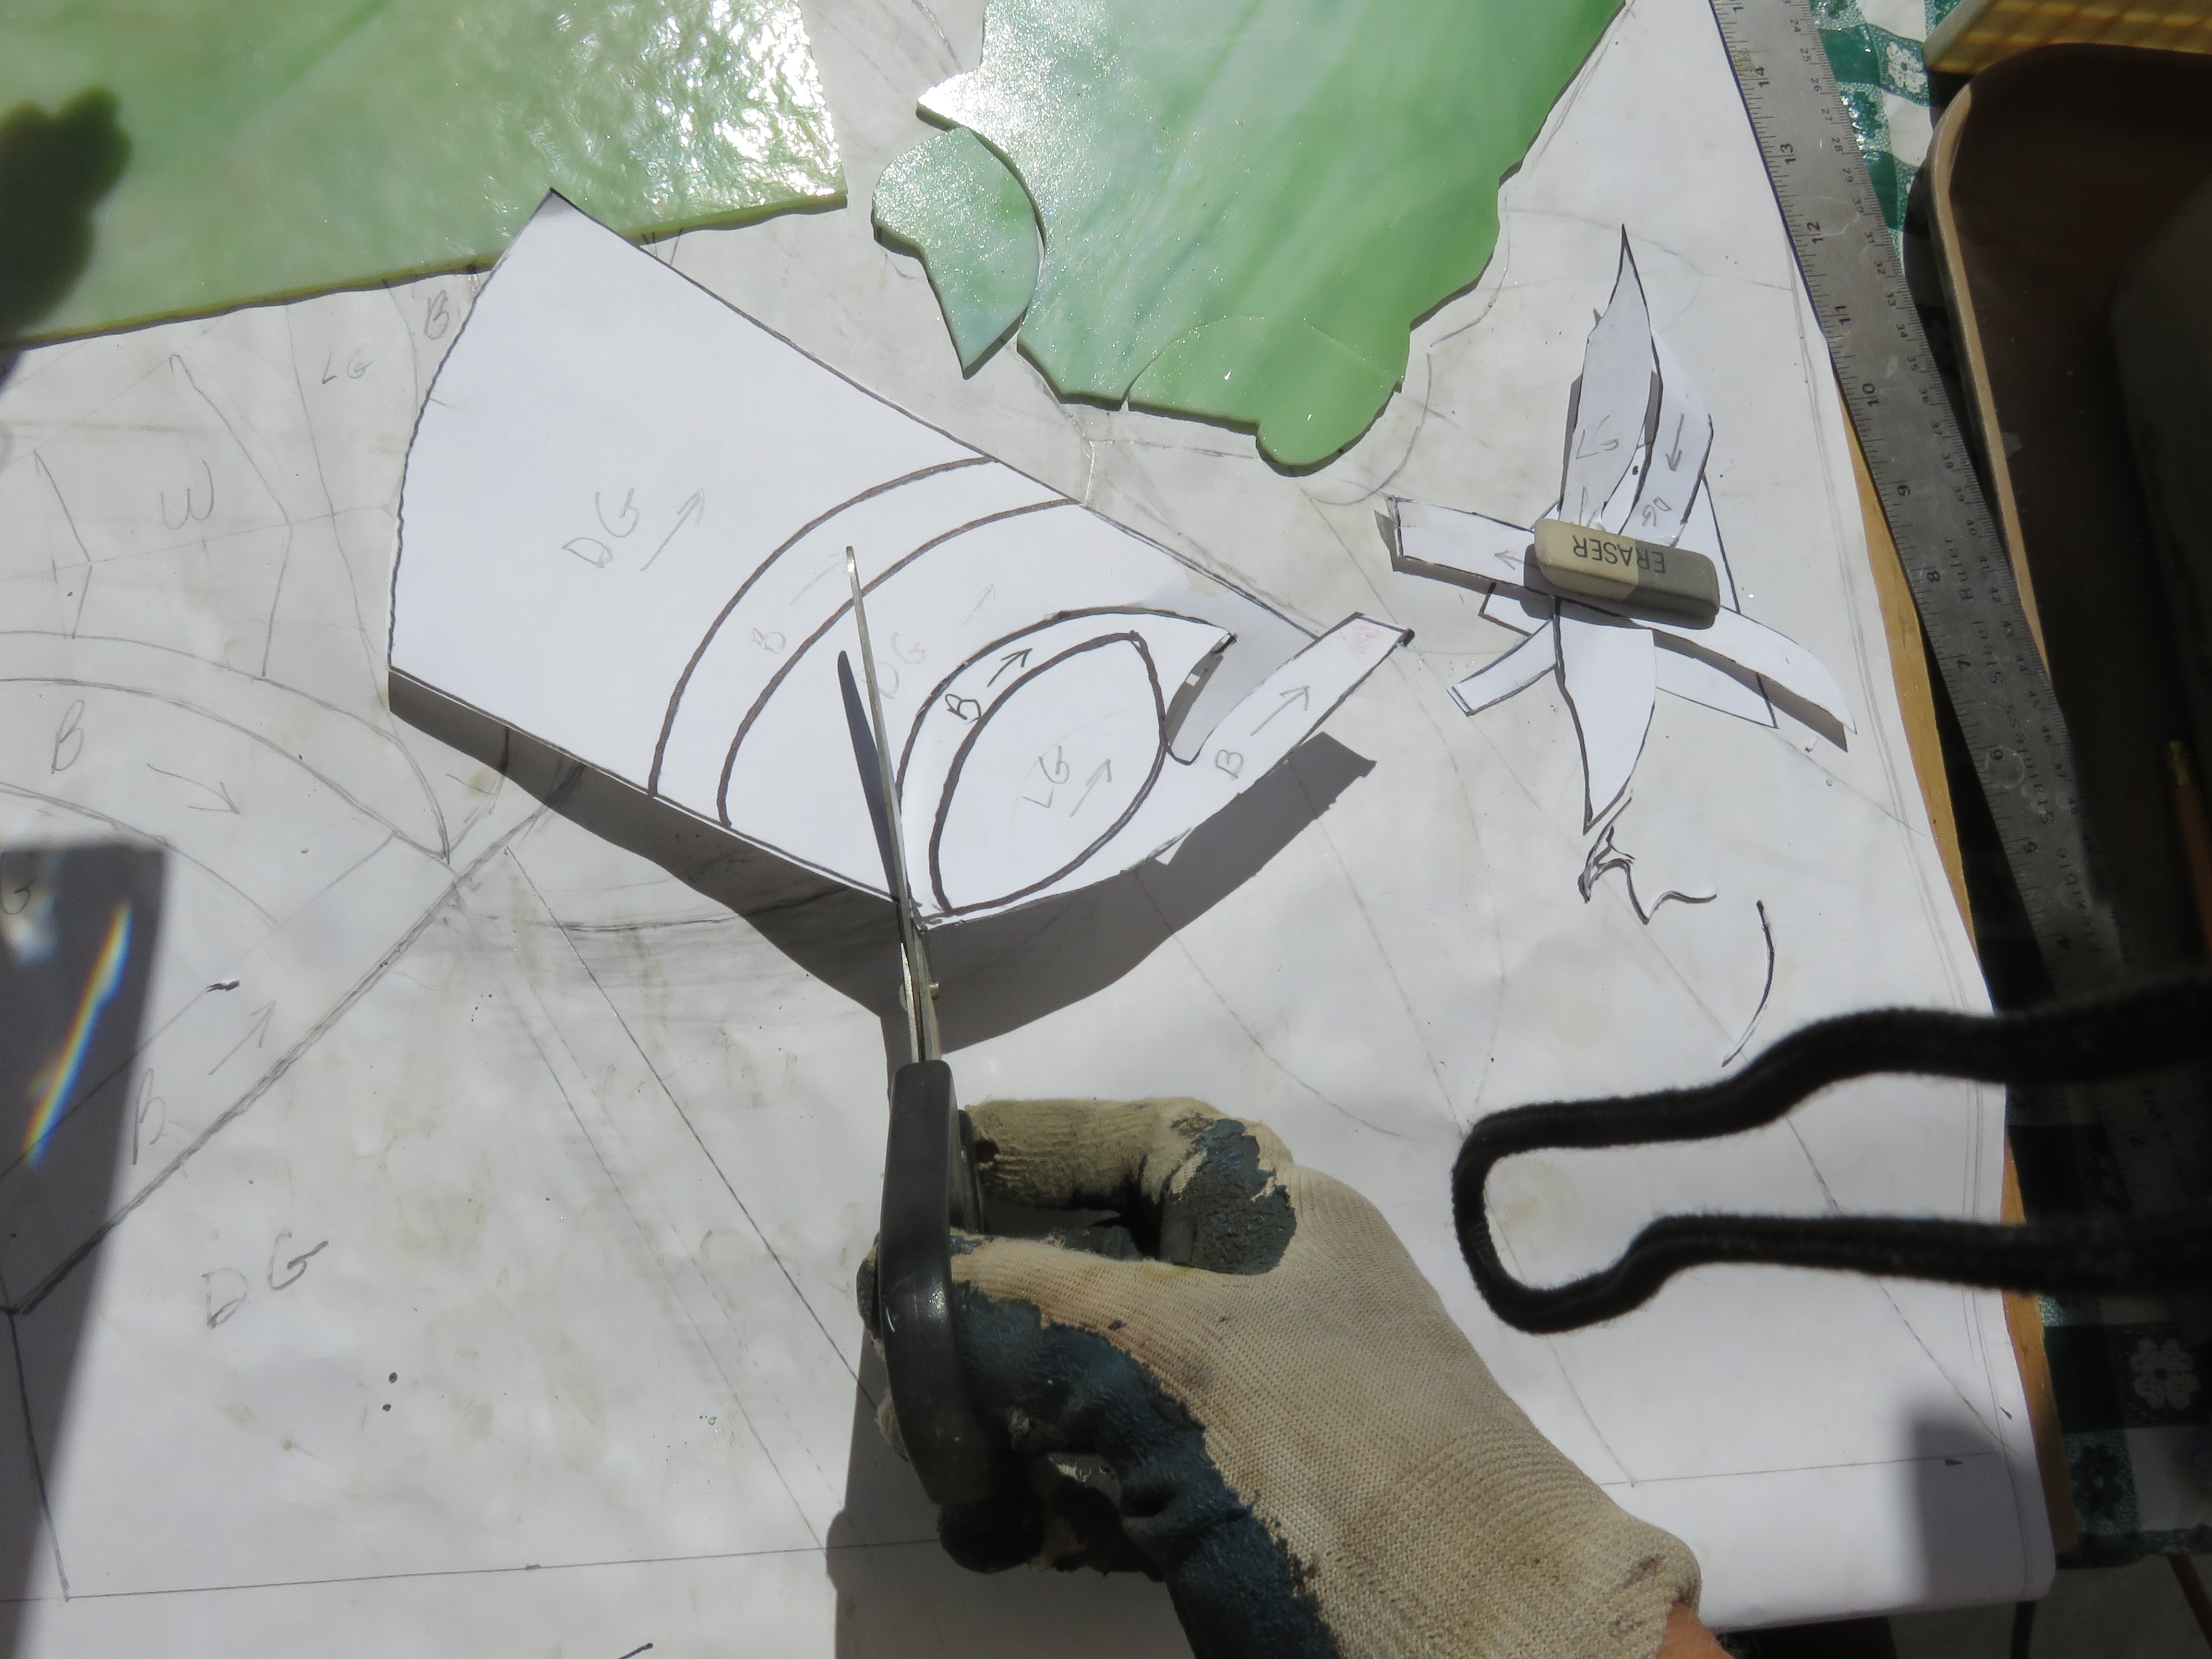
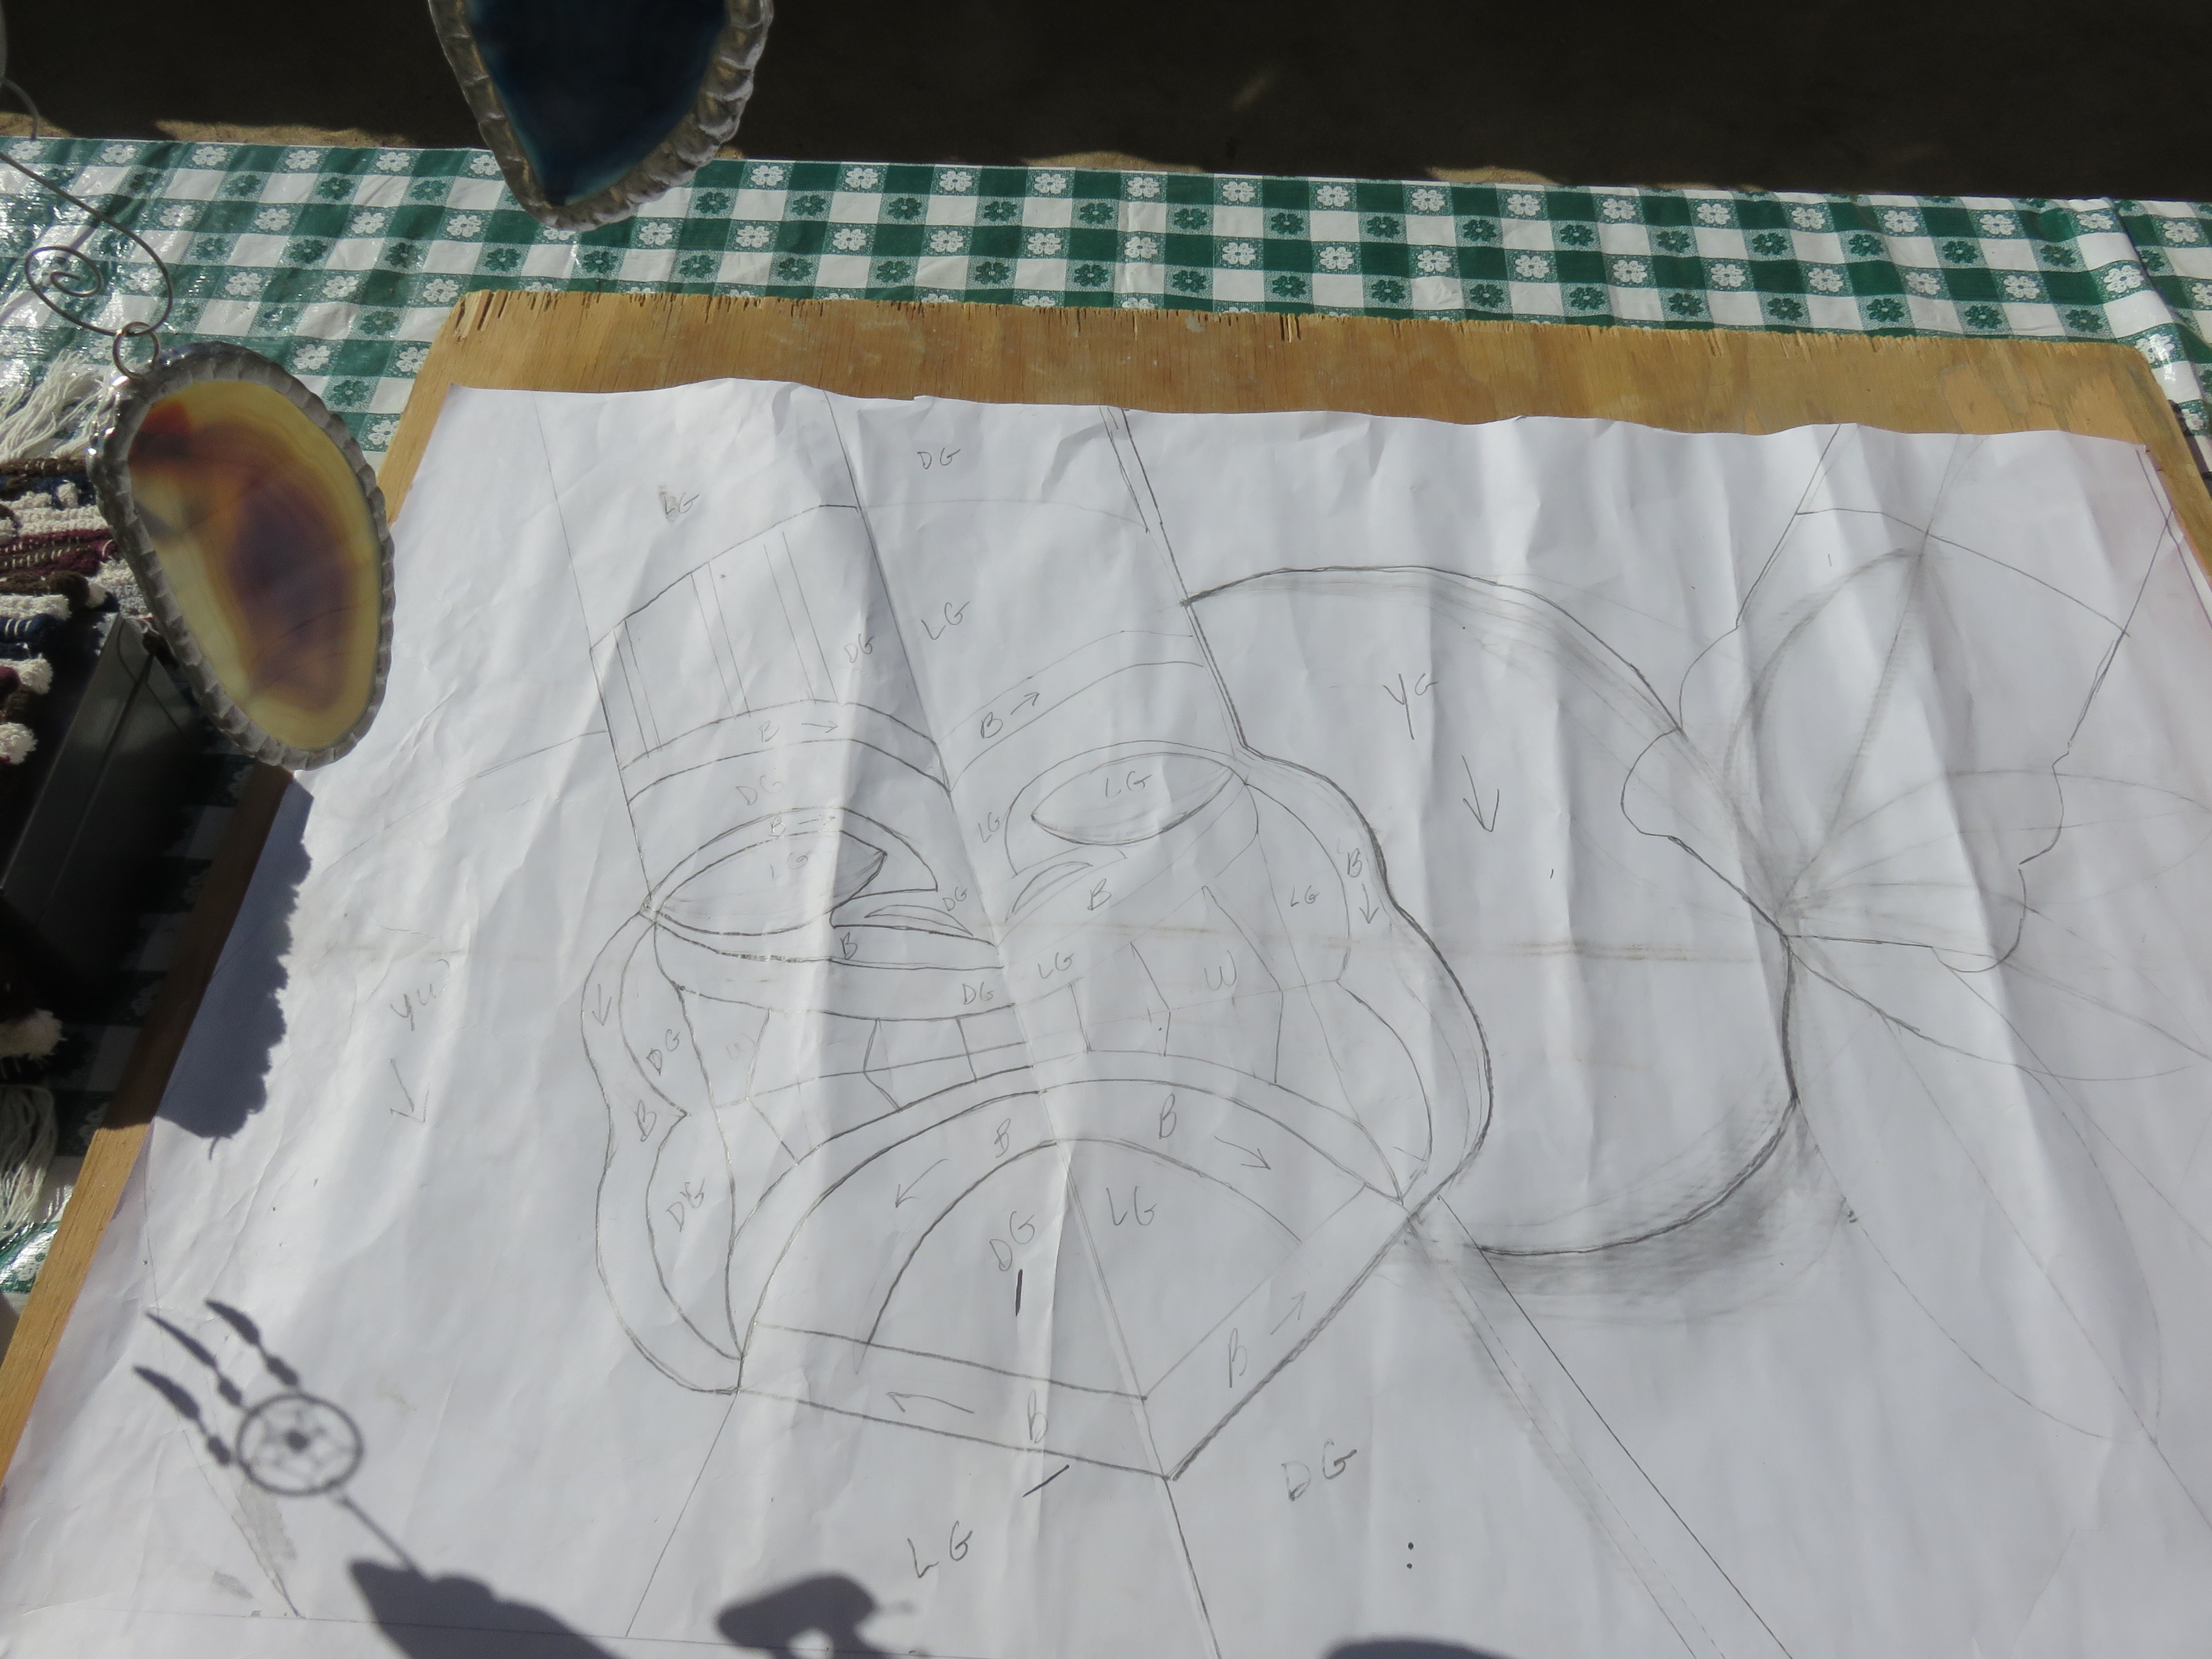
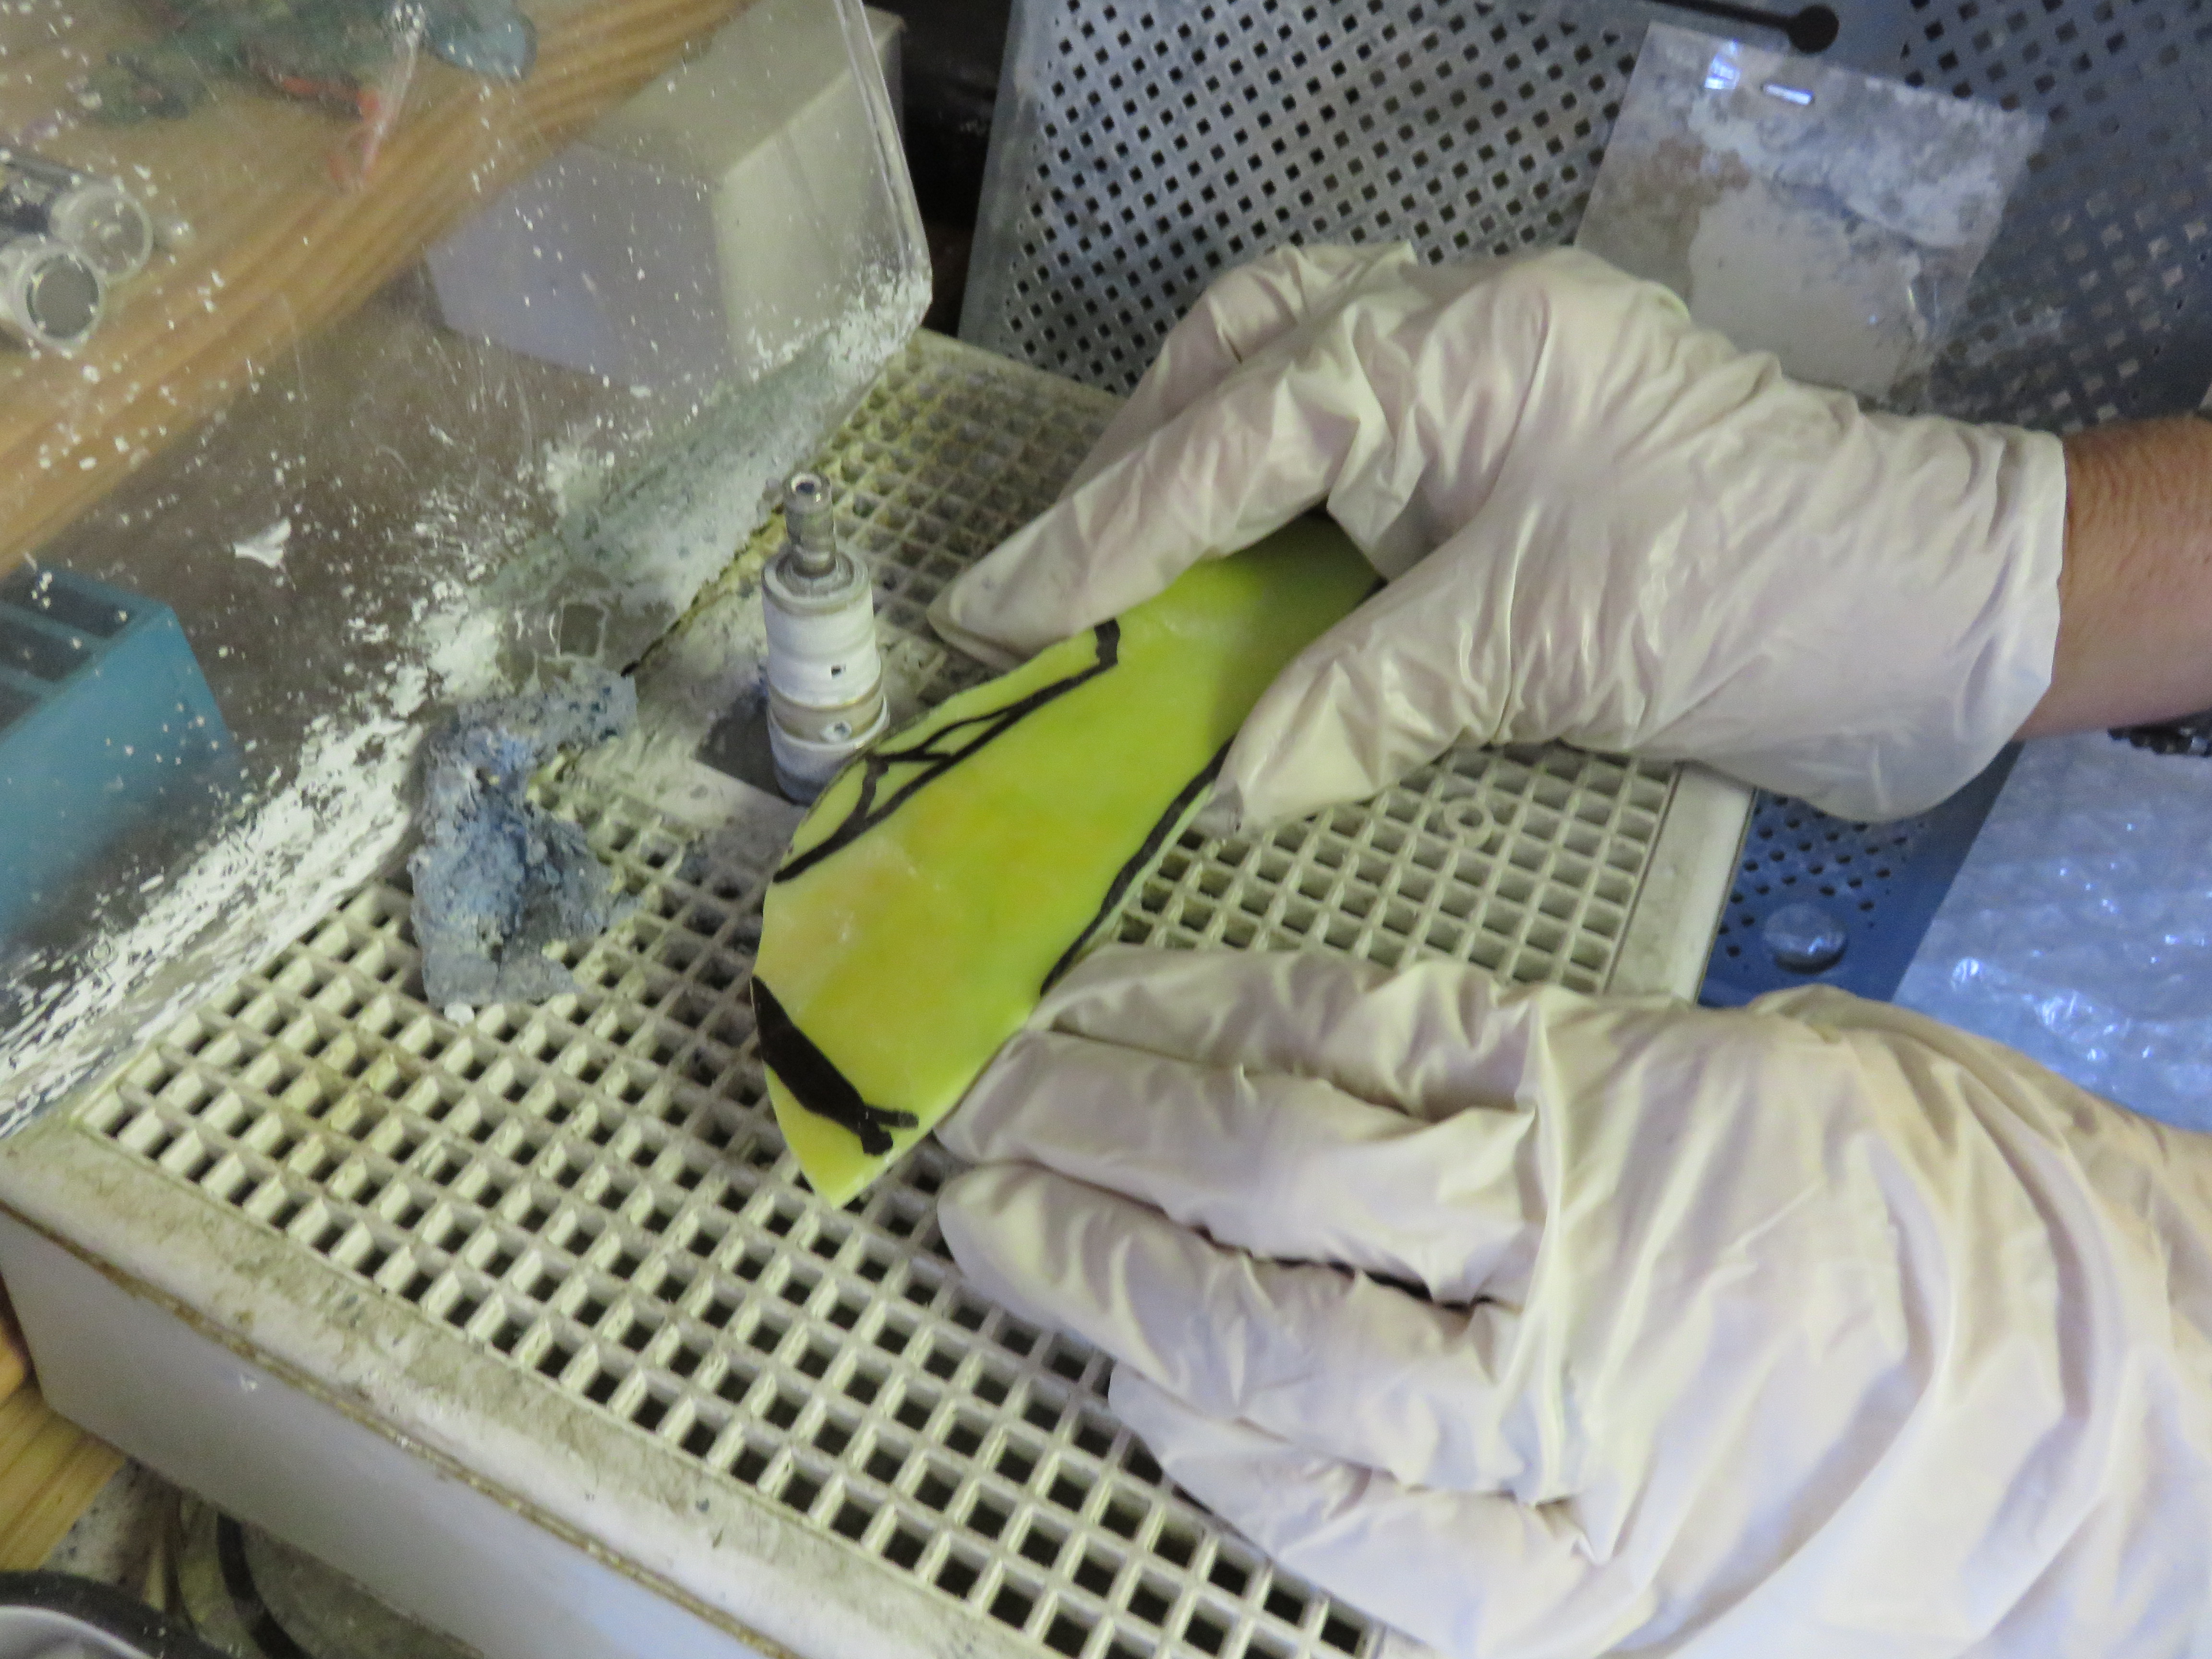
The paper pieces are cut out and used as templates to cut out the individual pieces of glass. The glass is “scored” with a glass cutter, a handheld tool with a sharp blade designed to cut glass, then snapped apart. Gloves help reduce cut fingers and eye protection is a must as tiny shards of glass flying is common.
Special scissors are used to cut out the pattern depending on if you are using copper foil or lead came (strips of lead).
Some pieces need to be ground so that they fit together better. The grinder is a diamond wheel bathed in a flow of water held in a pan below the grinding wheel. The water acts to lubricate and cool the diamond wheel and glass. This protects the glass from getting too hot and breaking, and, more importantly to prolong the life the diamond cutting wheel.
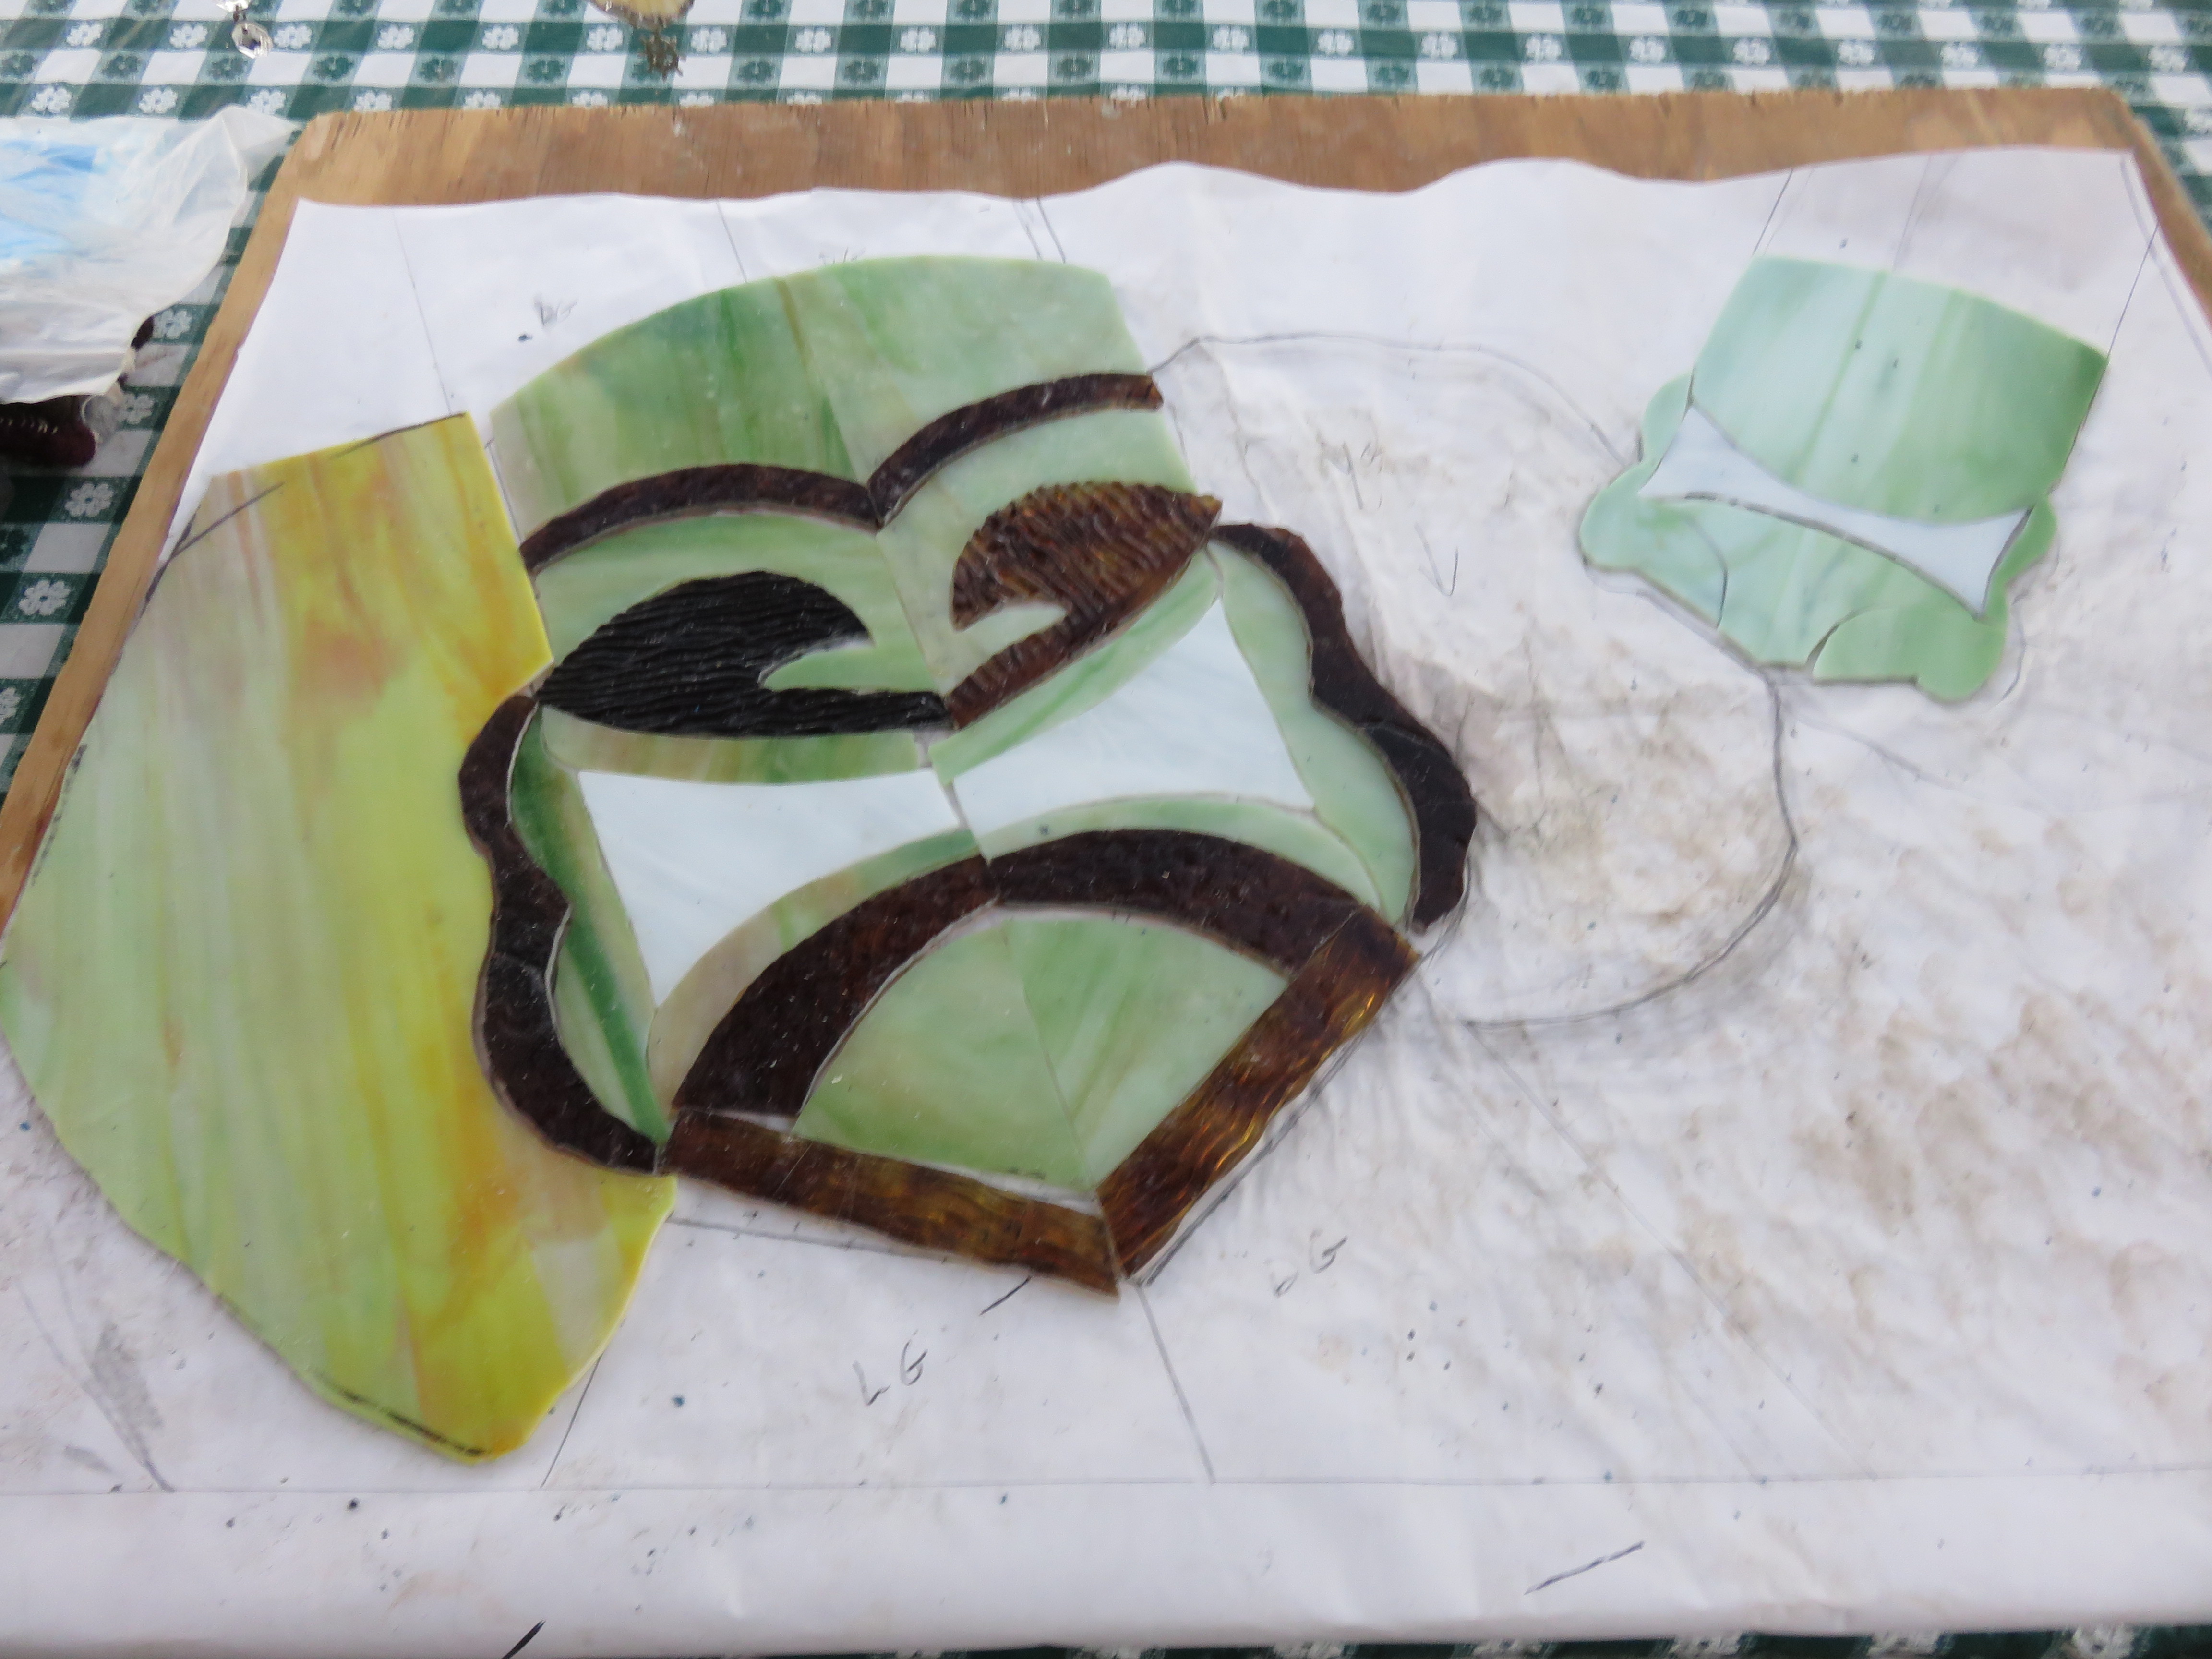
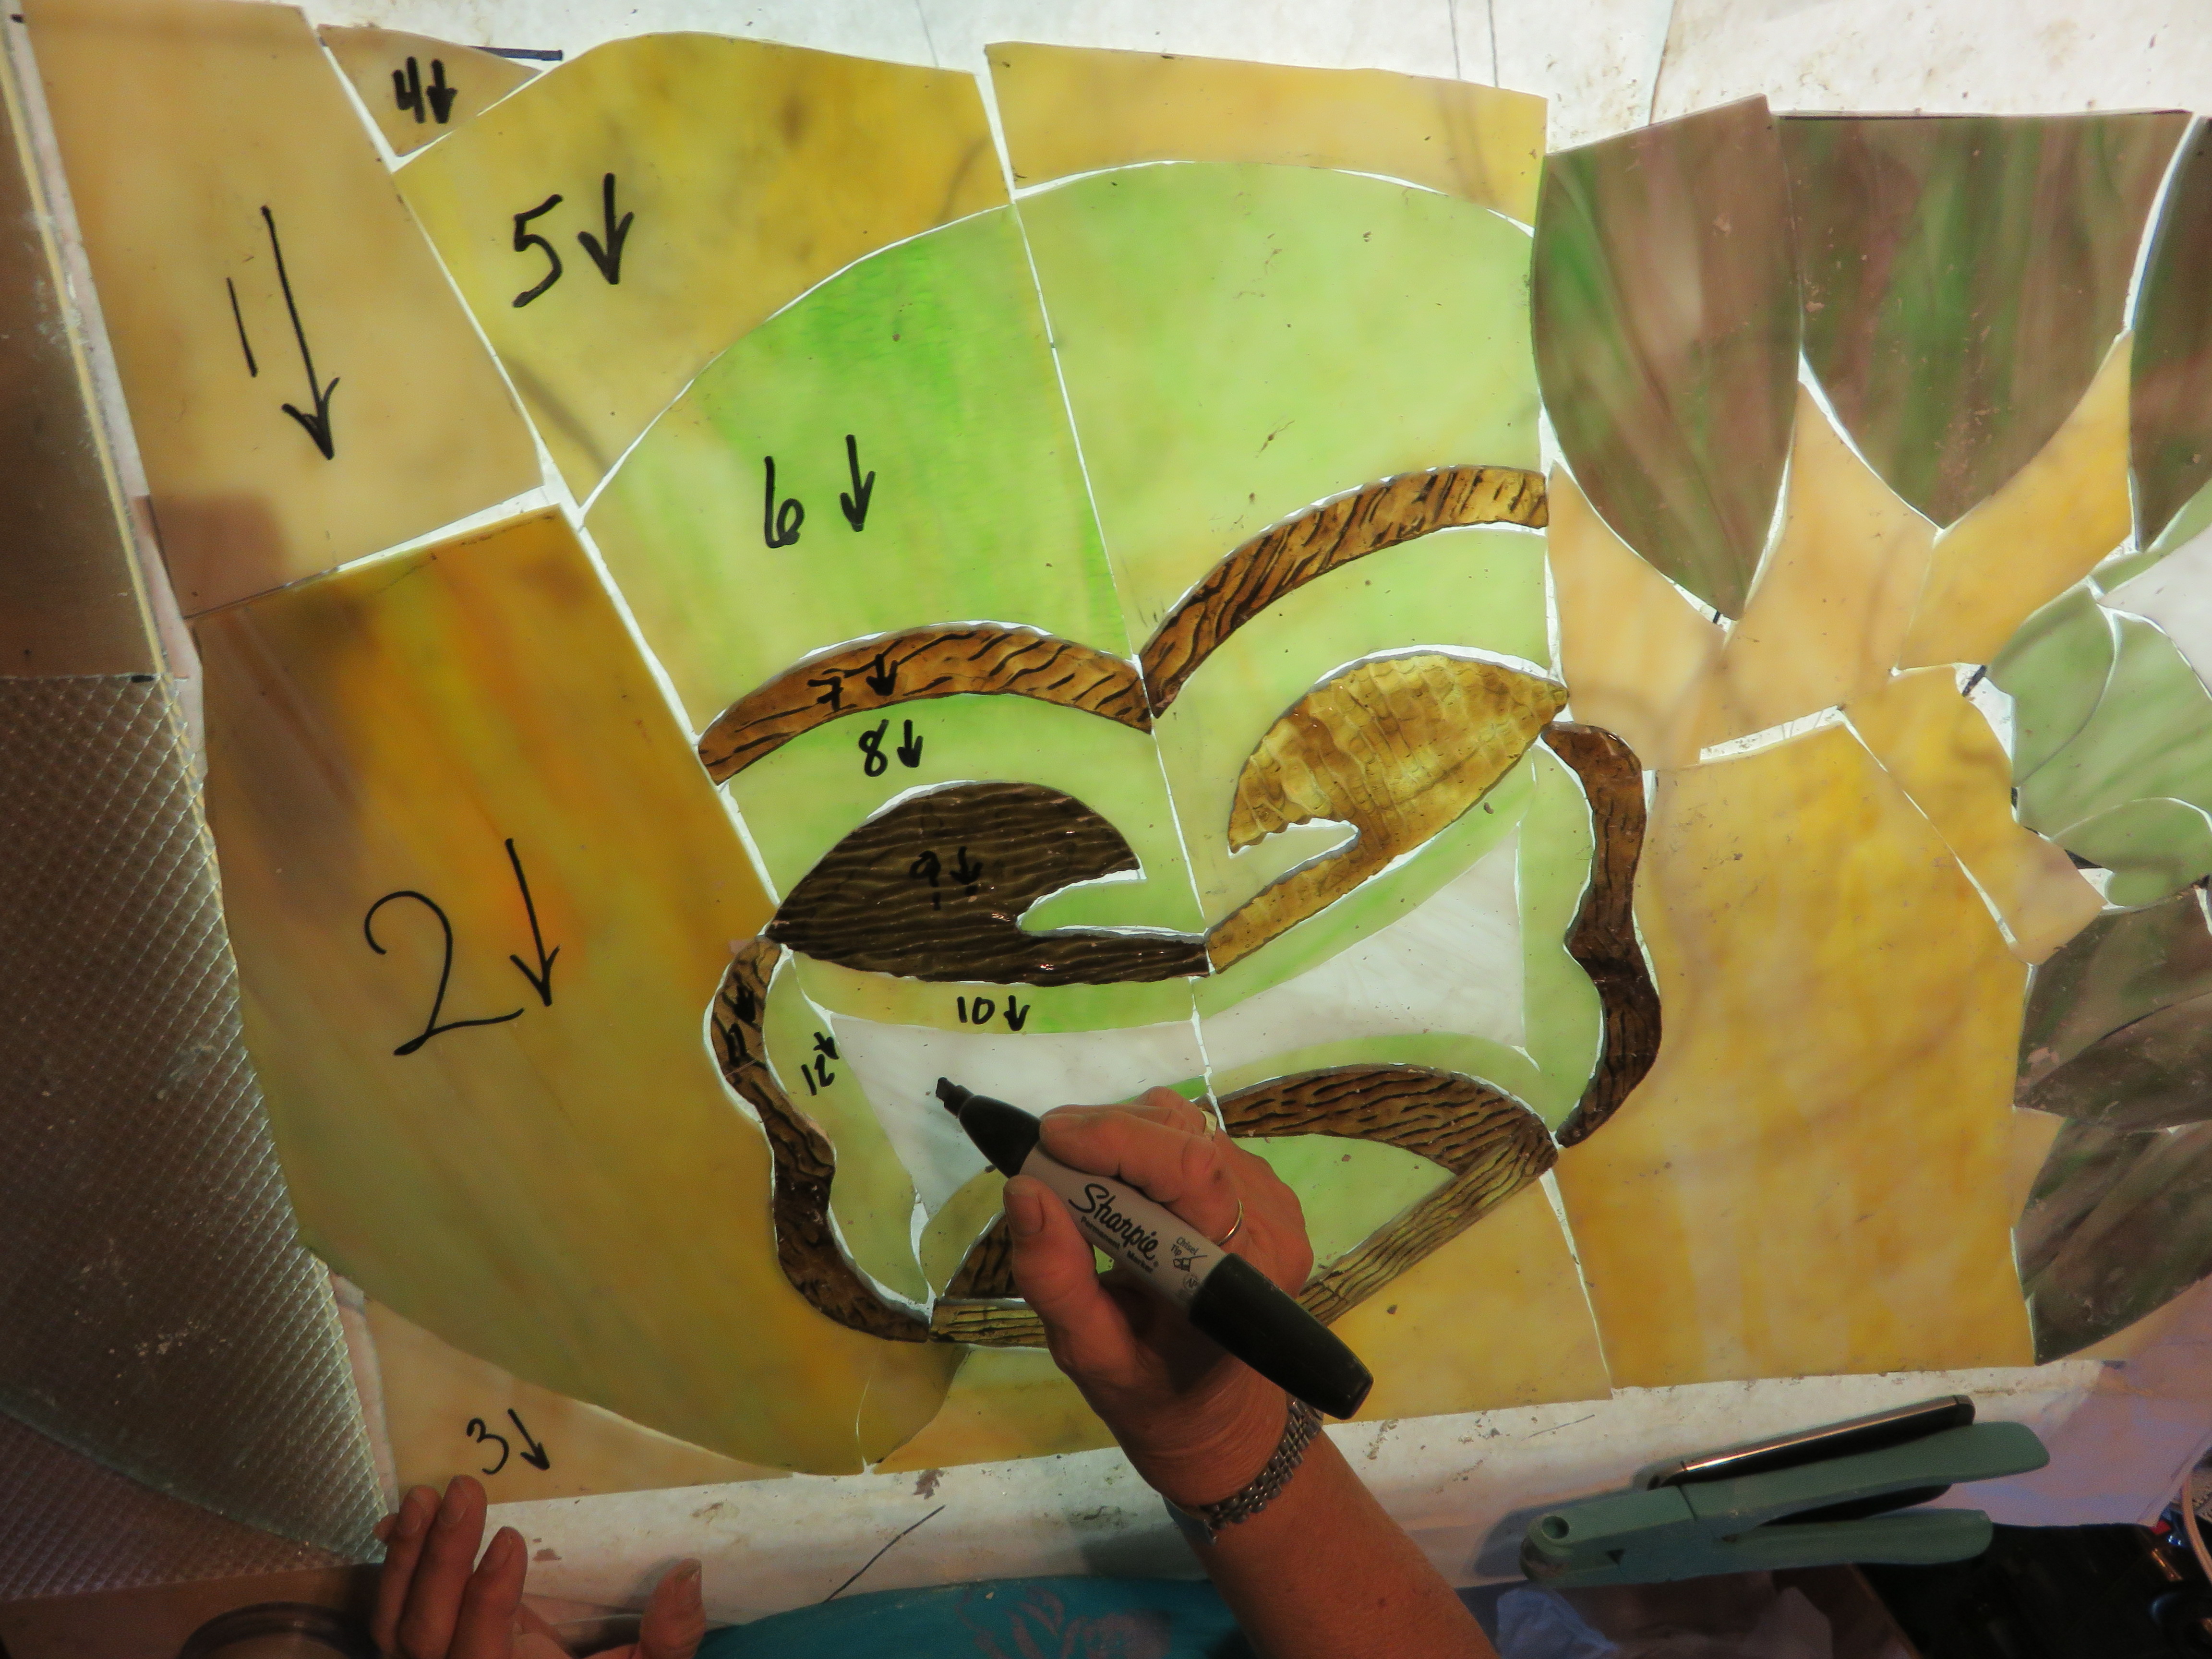
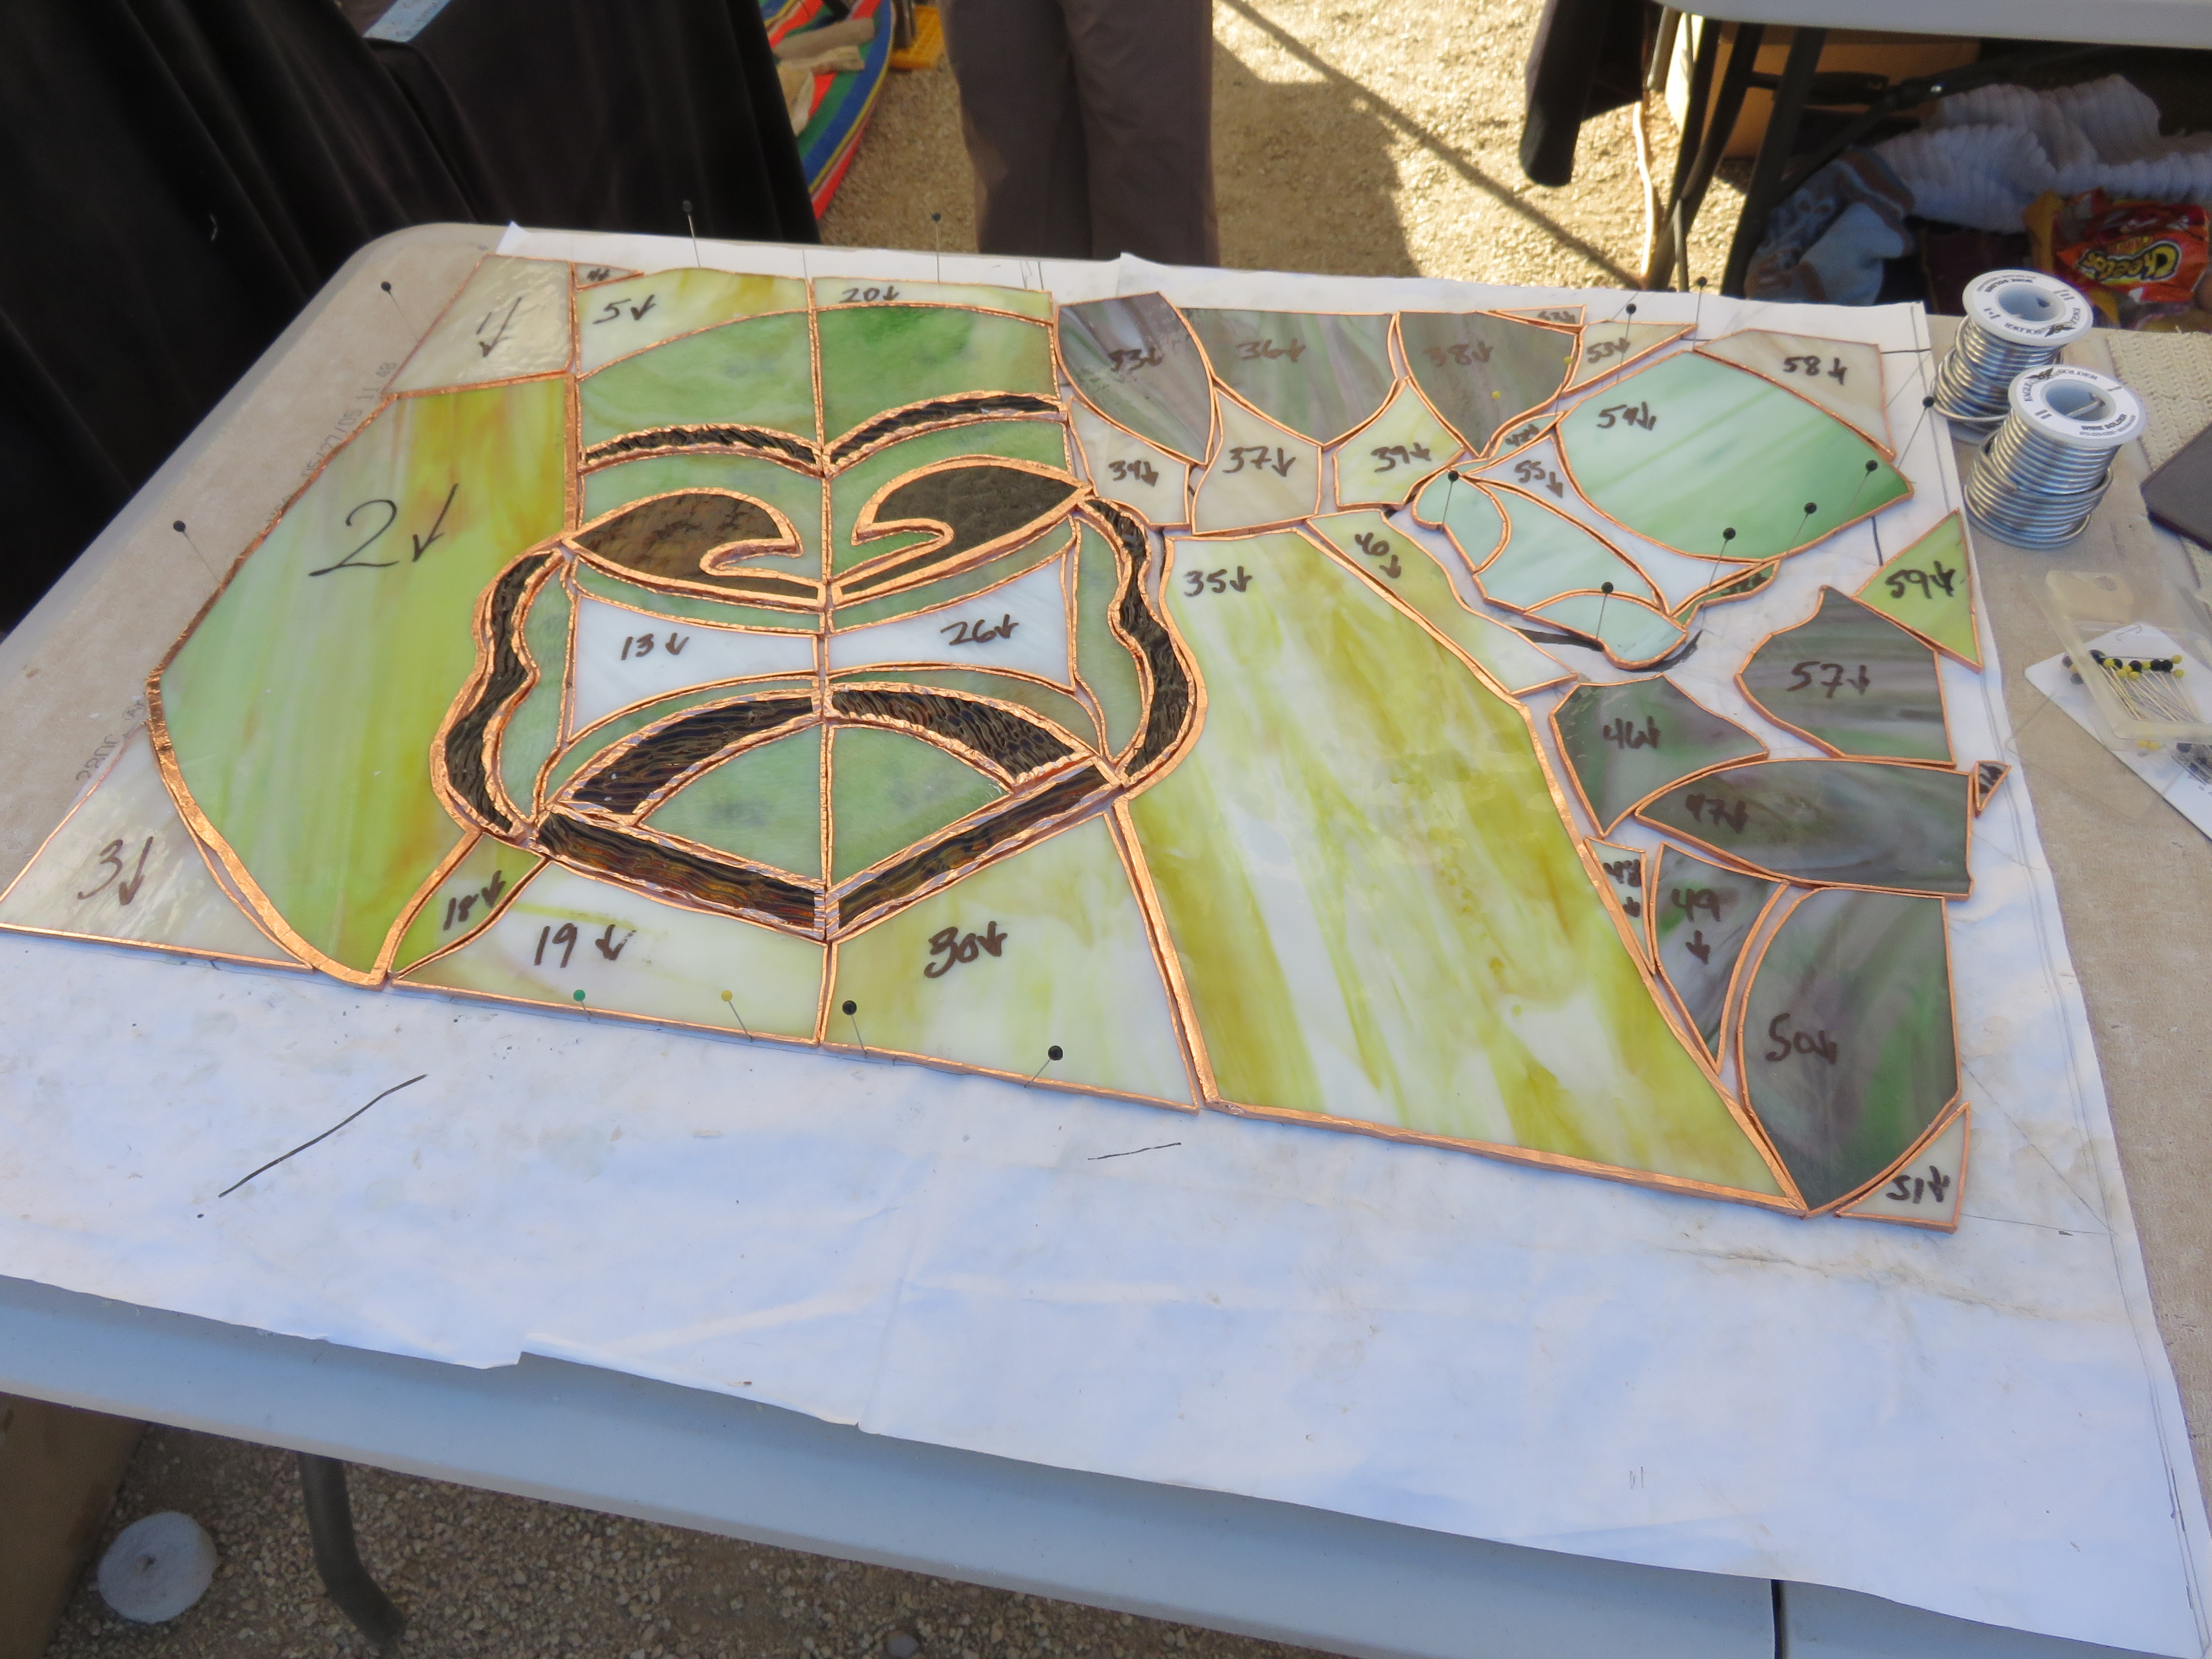
Next, the pieces are placed over the design. Some additional grinding may be necessary at this point. The pieces are then numbered in order to make it easier to assemble the pieces after the are “foiled”. Permanent black marker is used, as it is easy to remove from the glass.
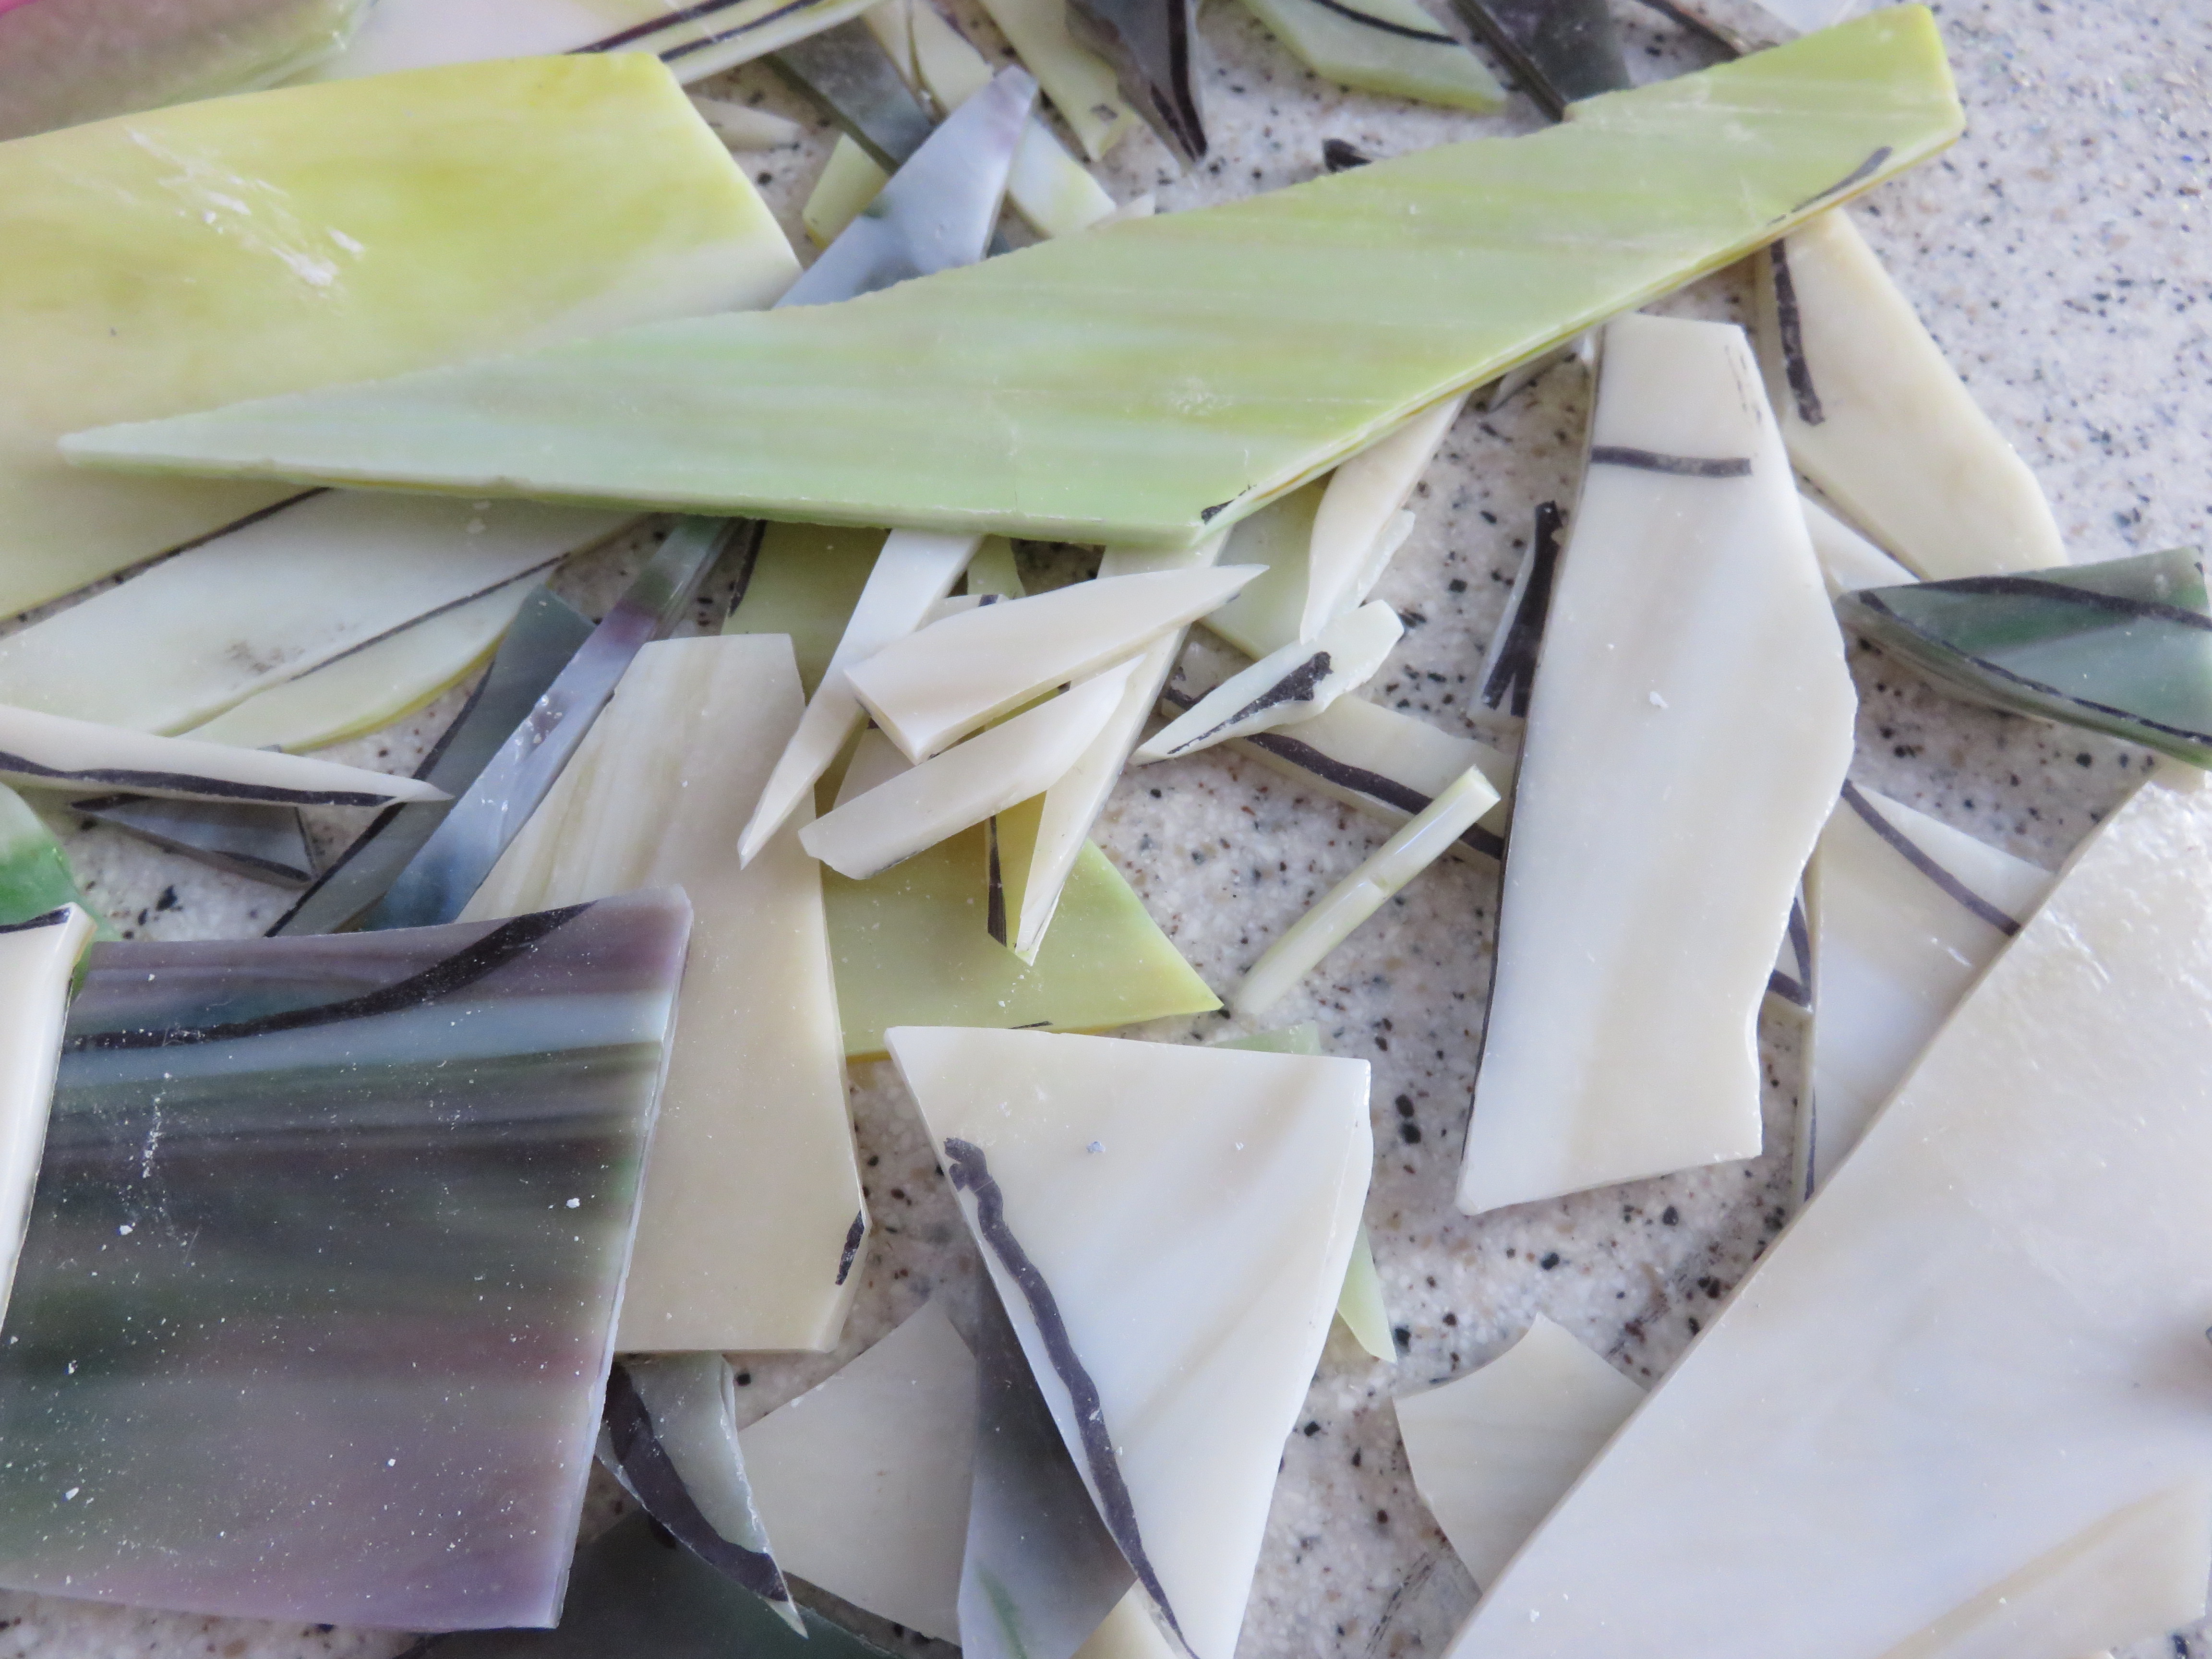
Below, the many left over pieces will be saved for future projects. Sometimes a piece breaks the wrong way and a new piece needs to be cut and ground. This is more common with textured glass, as is being used in parts of this piece.
Each piece of glass must be wrapped in copper foil. The copper foil is just that, copper. The foil comes in a variety of sizes and has a pressure sensitive adhesive on the back. Each piece must be covered and the foil burnished or rubbed securely onto the glass with a small round wood tool, such as a wooden dowel or stick.
Several weeks have passed up to this point as Sherry fits this project into her busy schedule. Copper will tarnish or oxidize if left open to the air. The next step of soldering the pieces together should take place soon. Sherry stores foiled pieces in a plastic bag to help decrease any oxidation from taking place until she is ready to start soldering.

The pieces are laid out on a board and held snuggly in place with pins. The numbering has made this task easier. The solder is 50/50, 50% lead and 50% tin to join the pieces together. For detail work 60/40 solder is used, 60% tin and 40% lead, because it sets up faster. Sherry uses a soldering iron with a rheostat – this allows her to control the temperature of the iron based on the type of work she is doing.
Flux, an acid, is brushed onto each section of copper foil to facilitate the solder adhering to the copper. This will be washed off with a solution of baking soda (neutralizes the acid) and soap and water when all the soldering has been completed.
The piece is turned over and the copper foil on the back side is soldered. For strength, a frame of zinc is soldered around the pieced.
Soldering produces lead fumes that are a health hazard breathed over time. Sherry does much of her work outdoors and uses adequate ventilation and precautions when indoors. Gloves keep hand free of flux and reduce cuts from handling the glass.
Eric had requested a copper-colored finish. After the piece had been washed, Sherry added a copper patina in a process that takes several steps. The finish, otherwise, would have been bright silver. The piece is washed a second time and then the glass is waxed and polished.
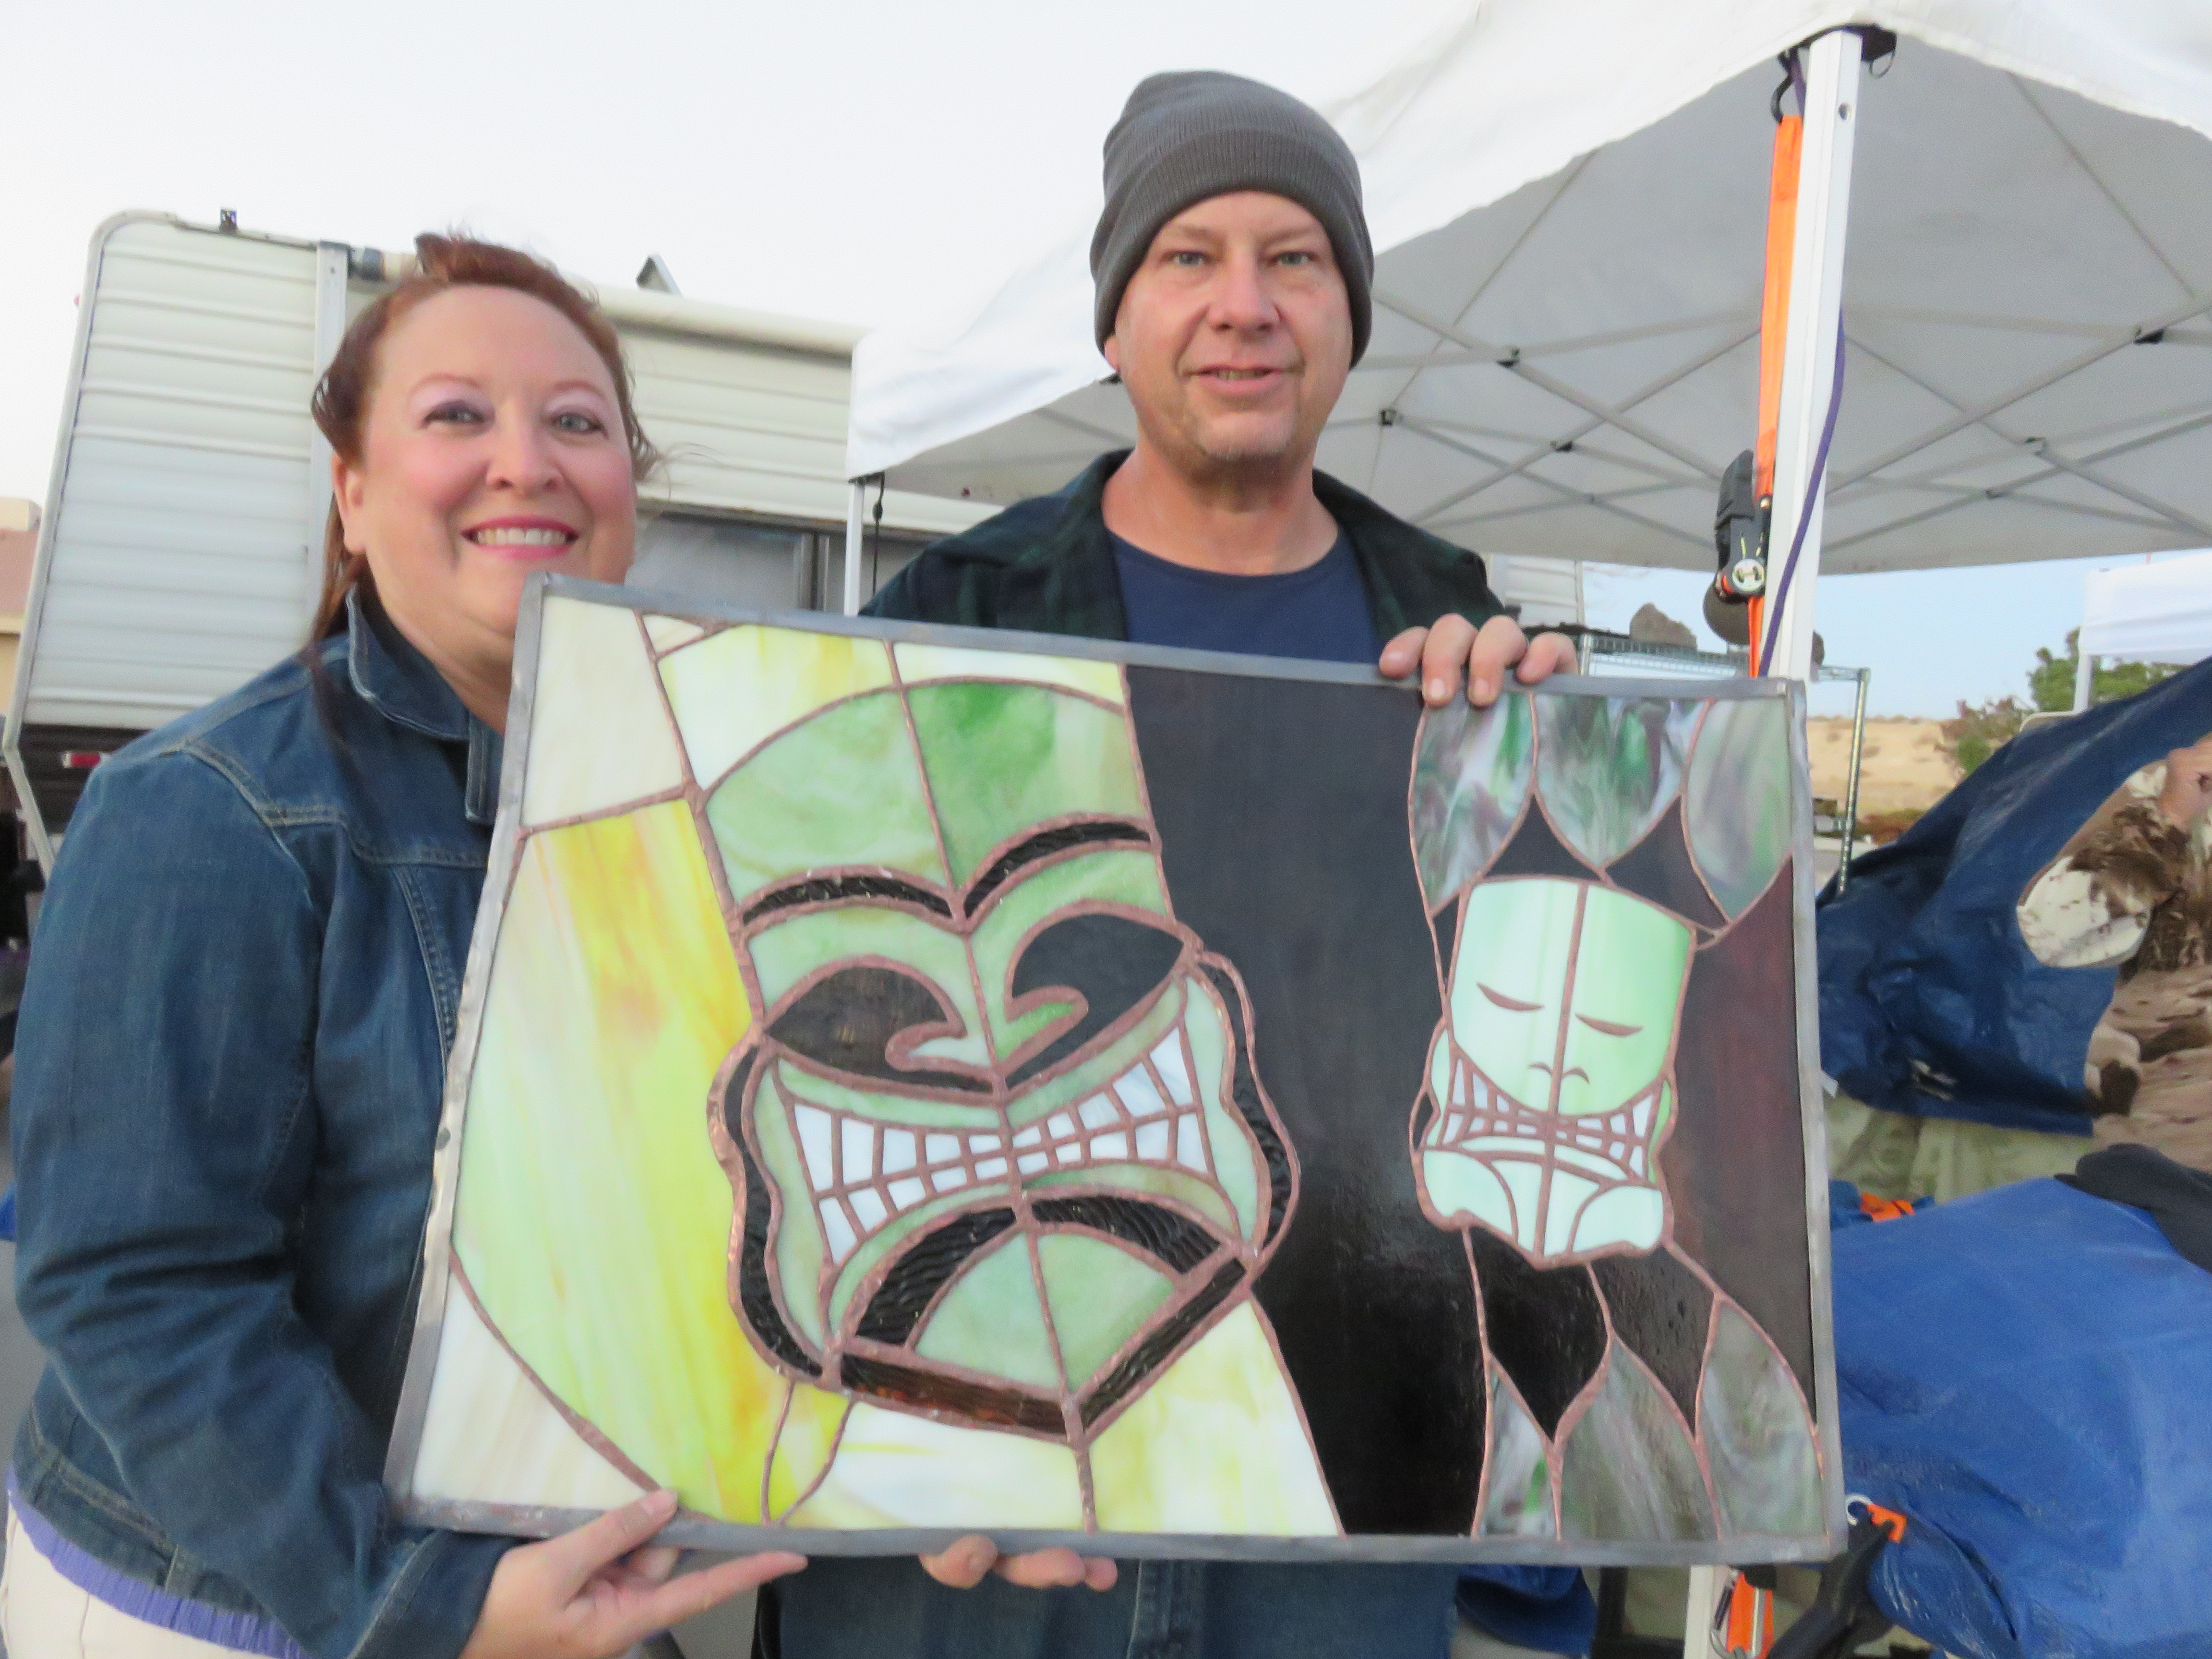
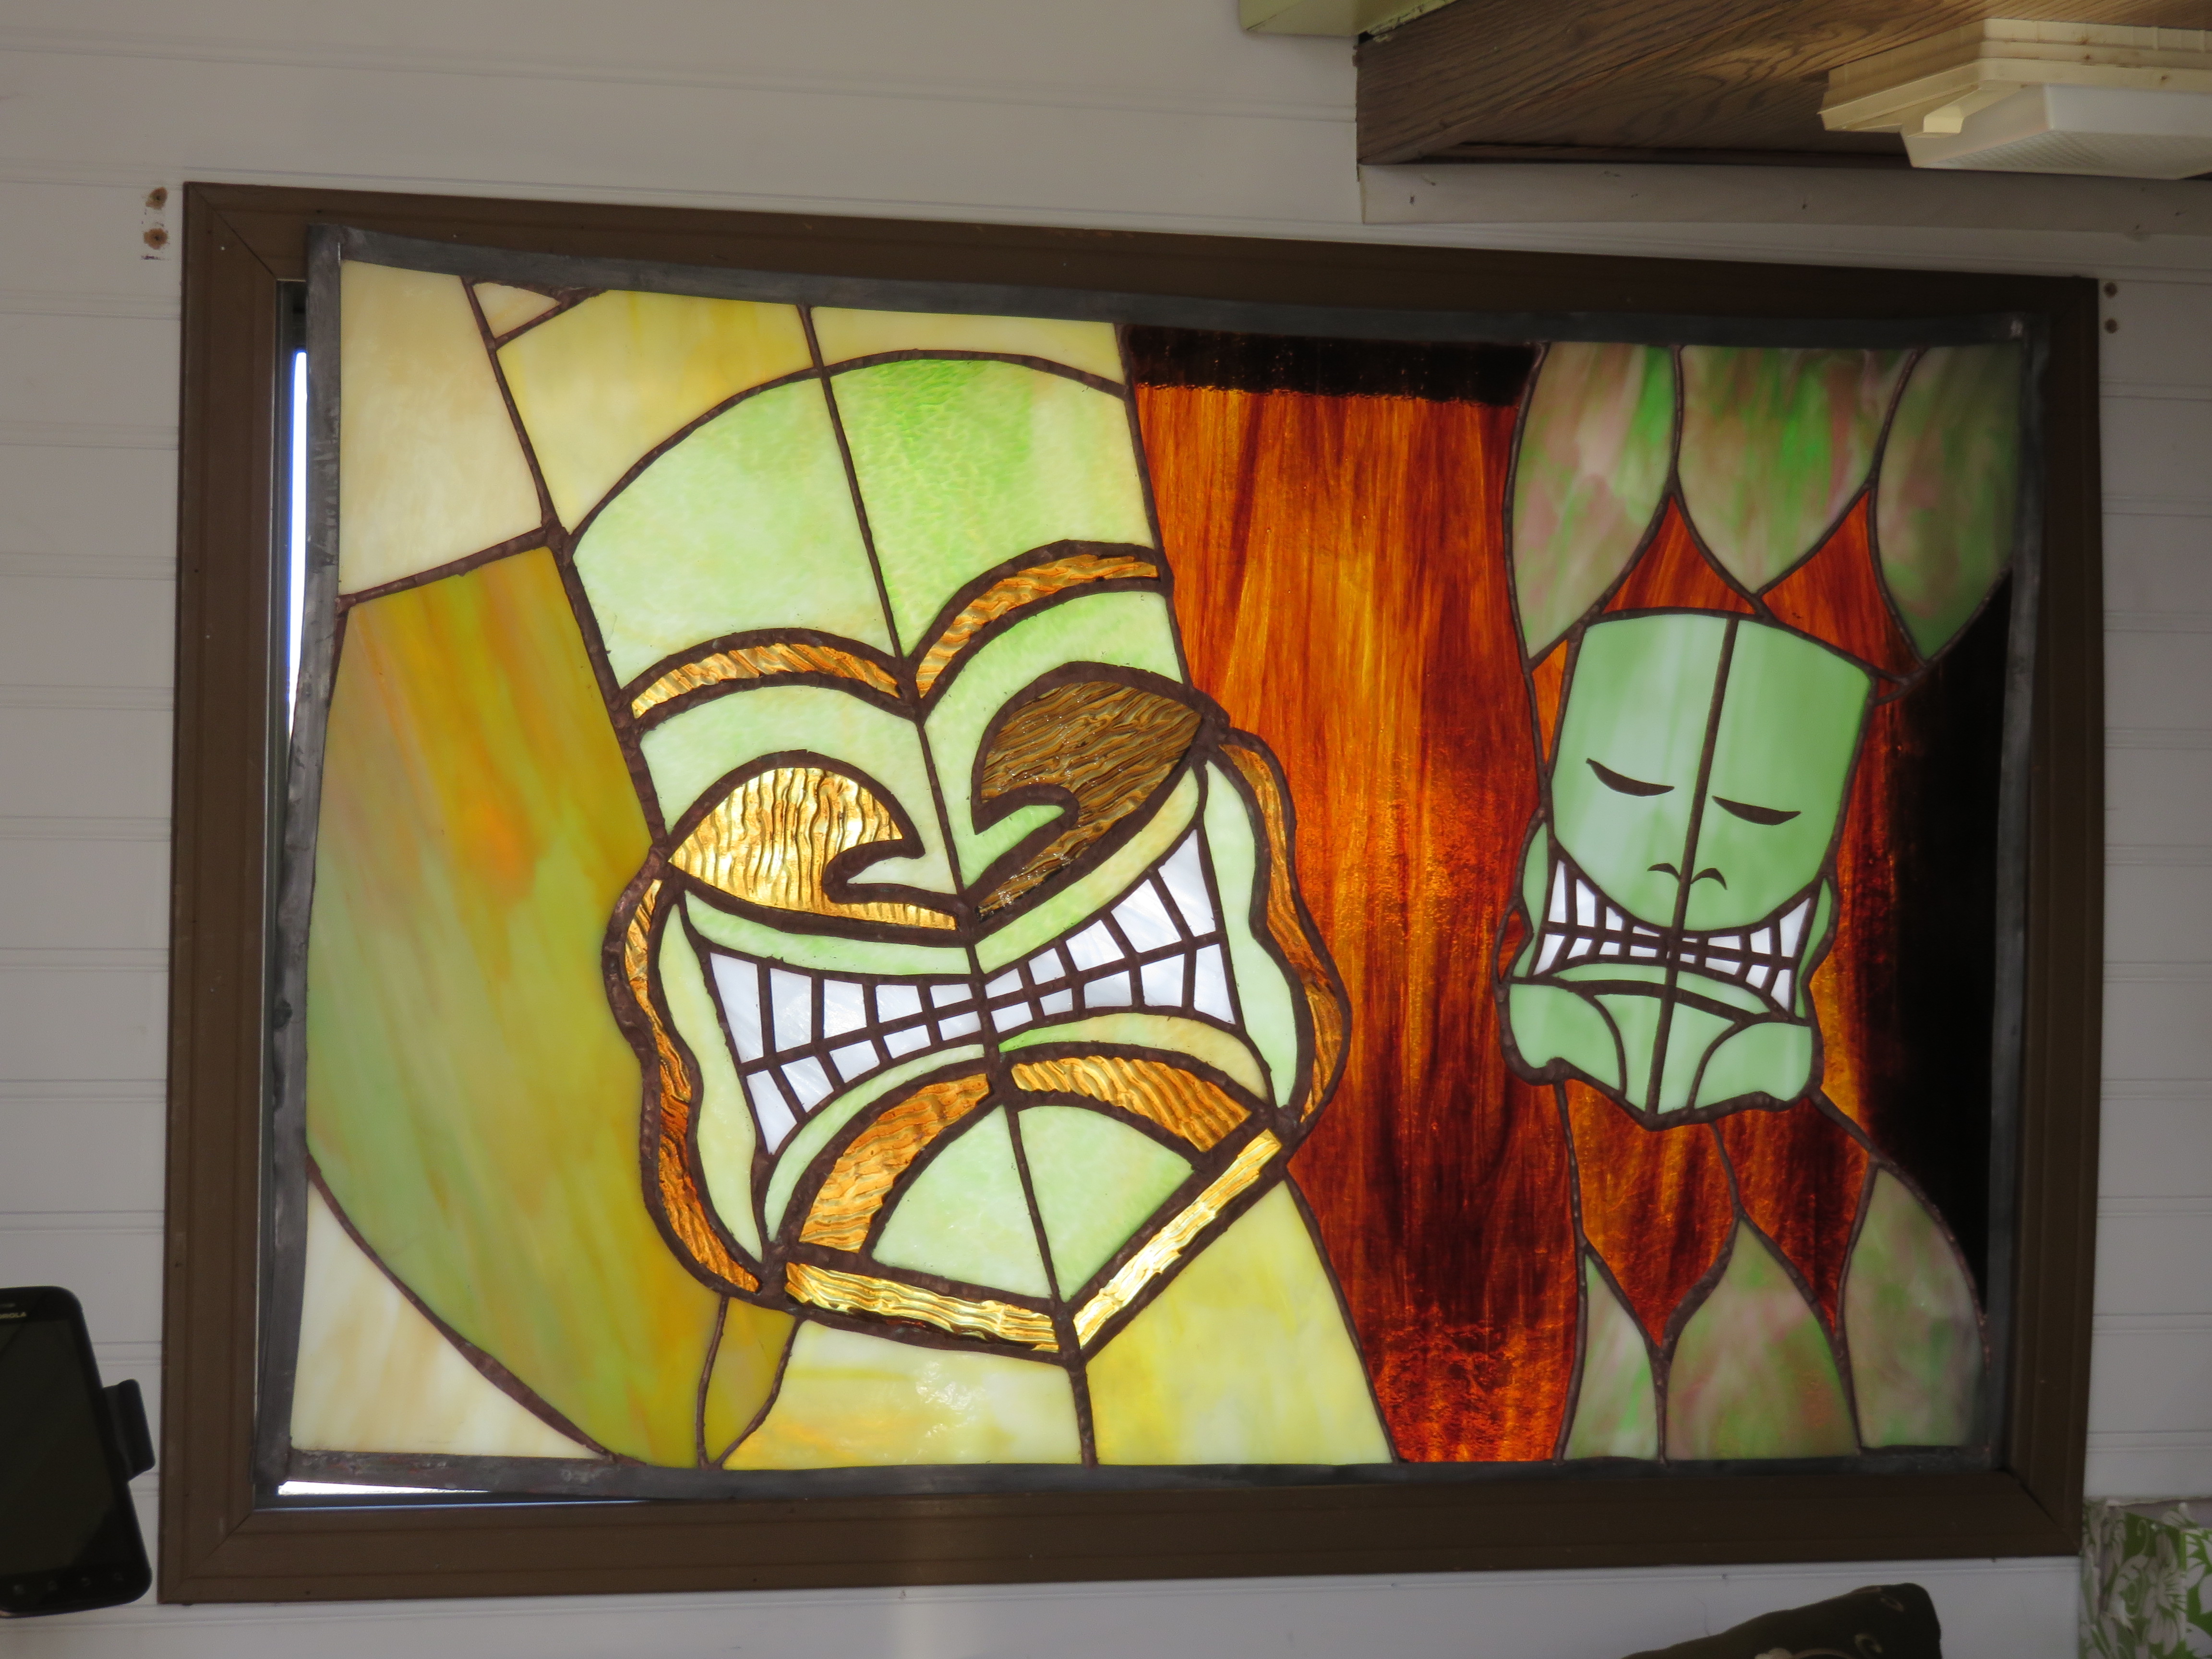
Sherry presented the completed piece to Eric and Violet on a blustery day at the Victorville Gem & Mineral Show in Apple Valley where we all were vending. The picture on the right better shows the colors with backlighting from outside as the window sits temporarily in the RV window it will occupy.
Almost 5 dozen pieces of glass, utilizing ten different colors, over three pounds of solder and zinc, and about 42 hours of labor from design to finish went into the project.